Applying a New Template (from the Creation Tool)
When creating a new presentation in MoxiPresent, you will be asked to select a template for the presentation right in the creation tool.
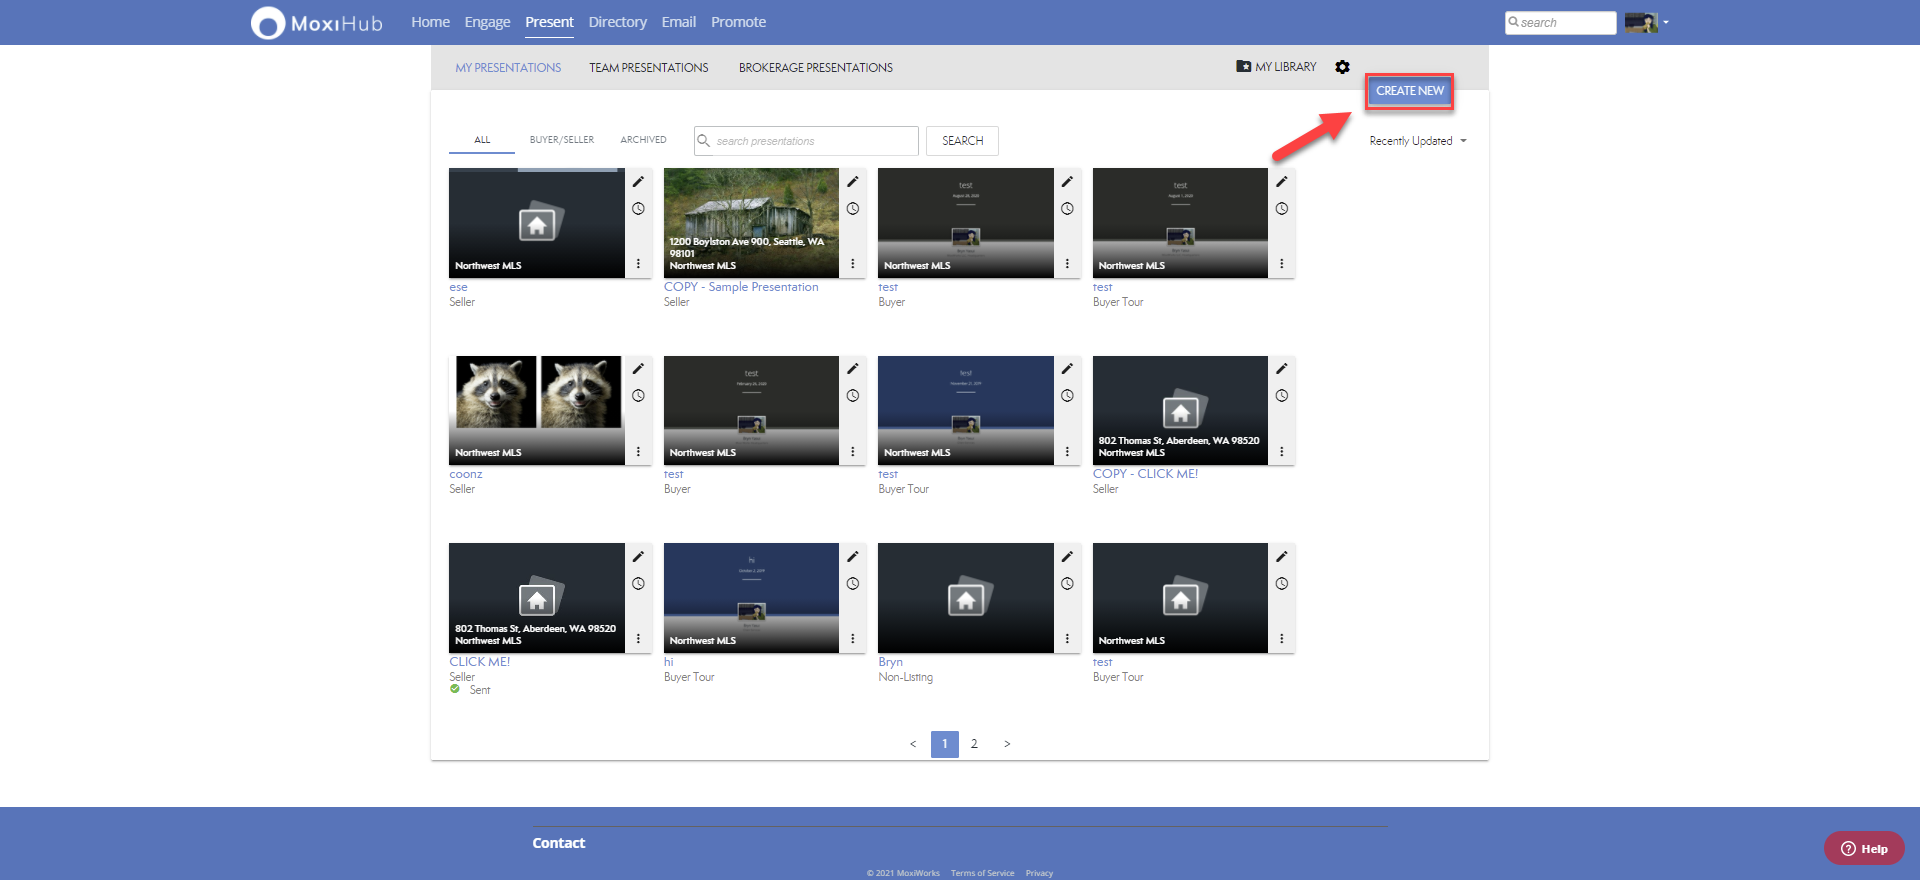
1. Create New presentation by selecting the button on the top right.
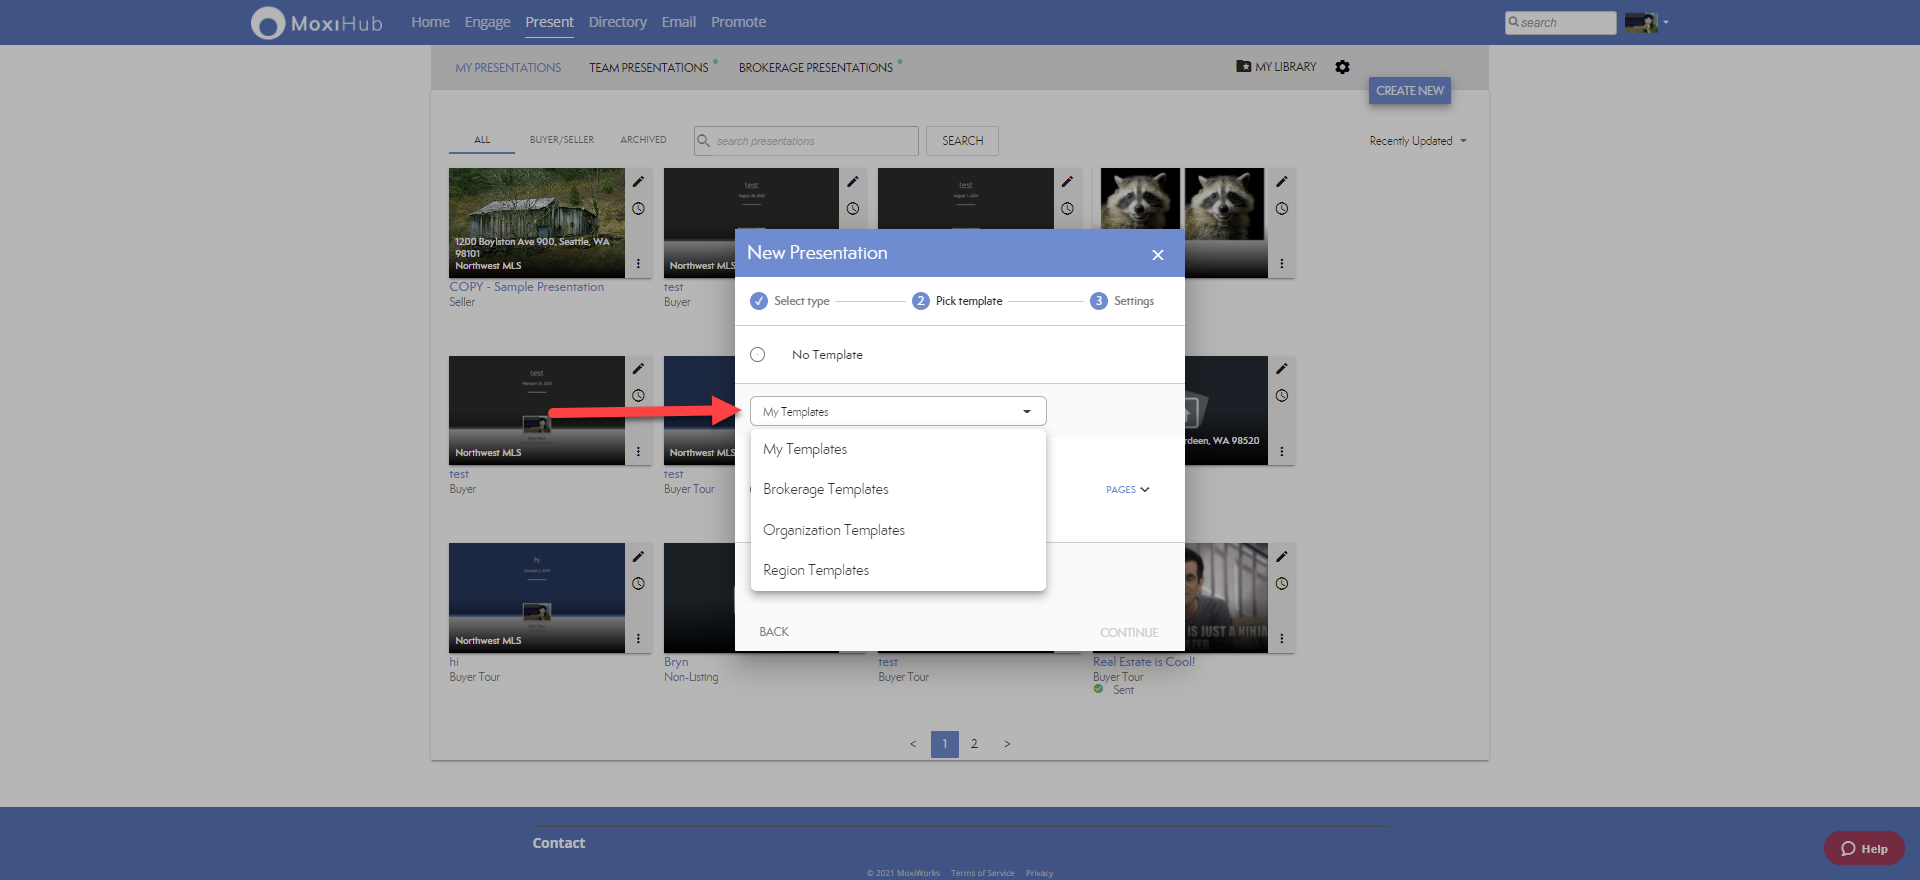
2. After selecting what type of presentation that you're creating, you can choose from the following four folders of templates: My Templates, Brokerage Templates, Organization Templates, and Region Templates.
Note: Based on your account's permission levels, you may not have visibility of all the templates available.
Applying a New Template (from within the presentation editor)
If you would like to change the page template after creating the presentation, you can do so easily right from the Pages tab.
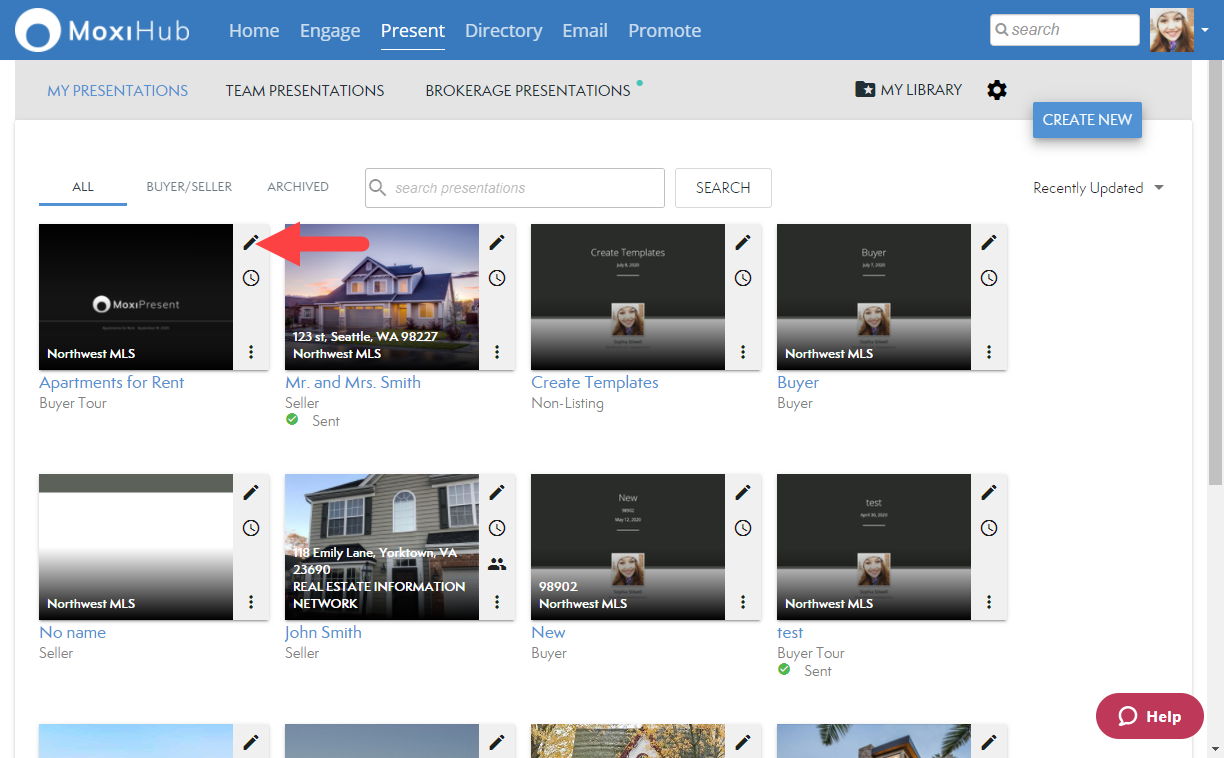
1. Navigate to Present and select the Pencil icon on the presentation you want to change the template for (see below).
2. Select the Pages tab from the navigation bar (see below).
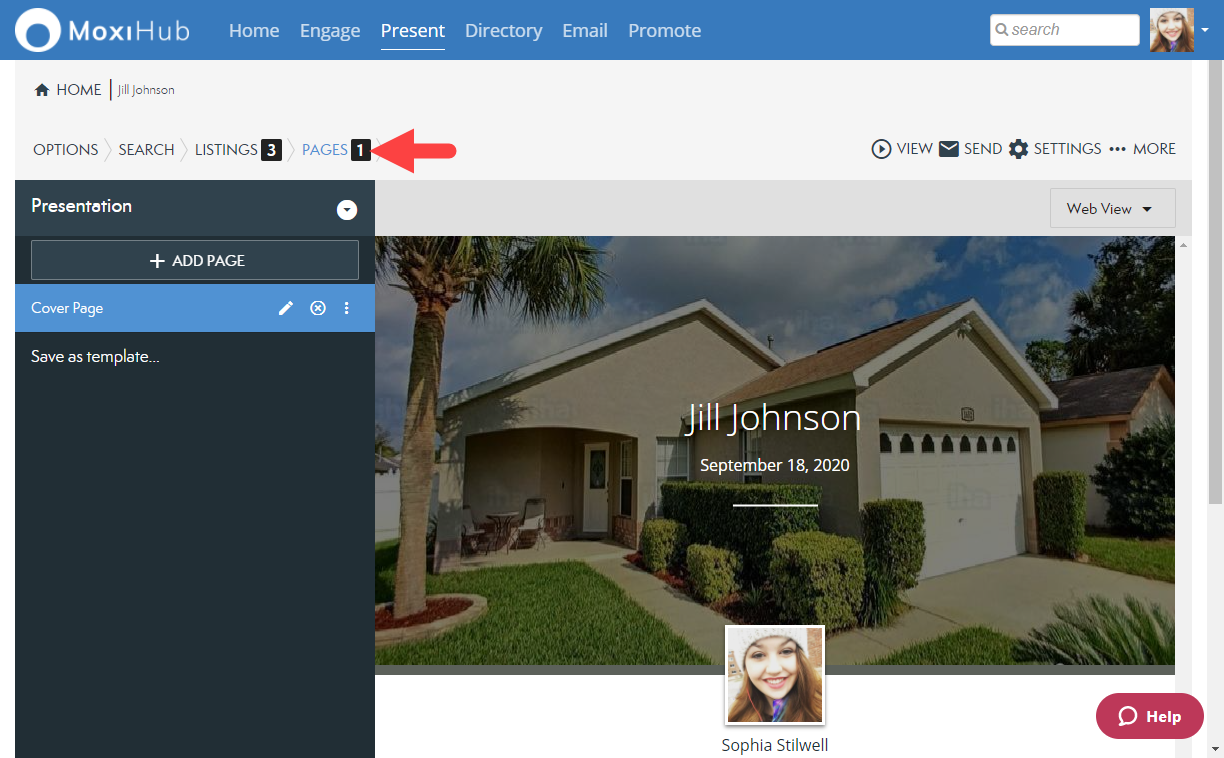
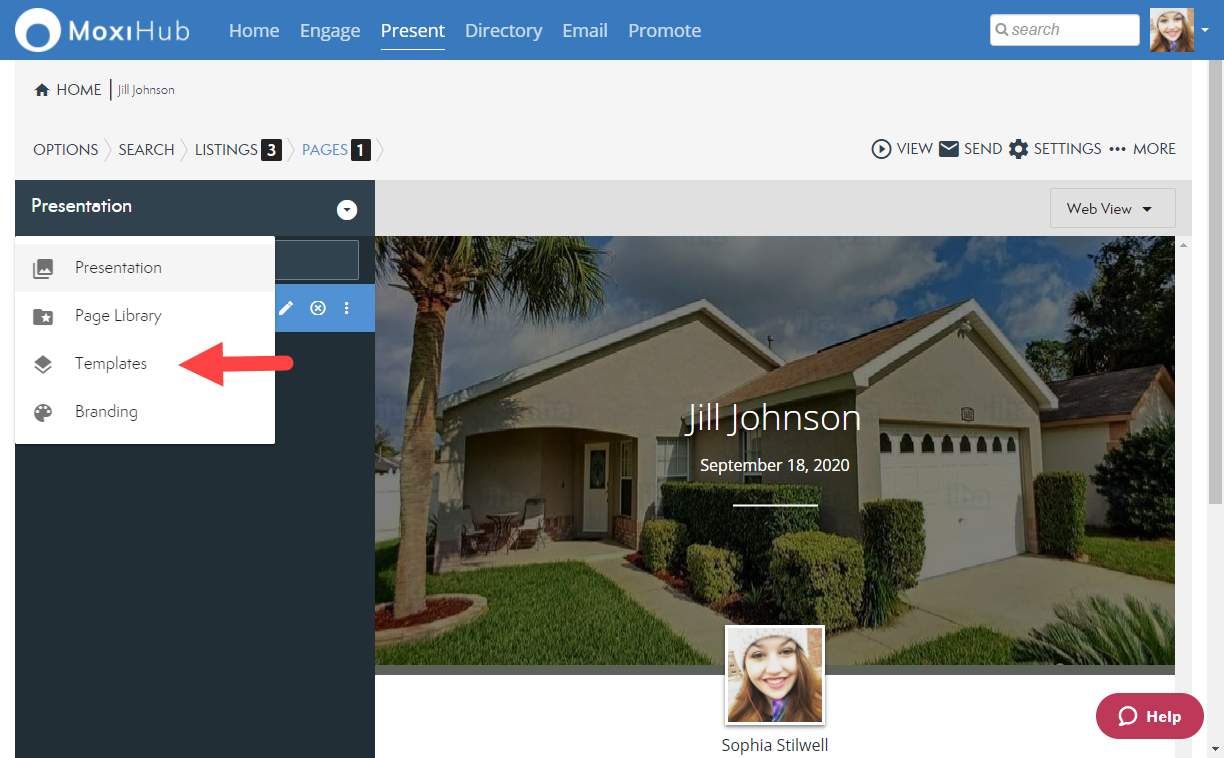
3. From the Pages tab, select the Arrow icon next to Presentation at the top of your page list (see below).
![]()
4. Choose Templates from the drop-down (see below).
5. From the template library, you will have the option to choose from personally created templates or brokerage created templates. Choose which folder you would like to apply a template from by selecting the folder on the left (see below).
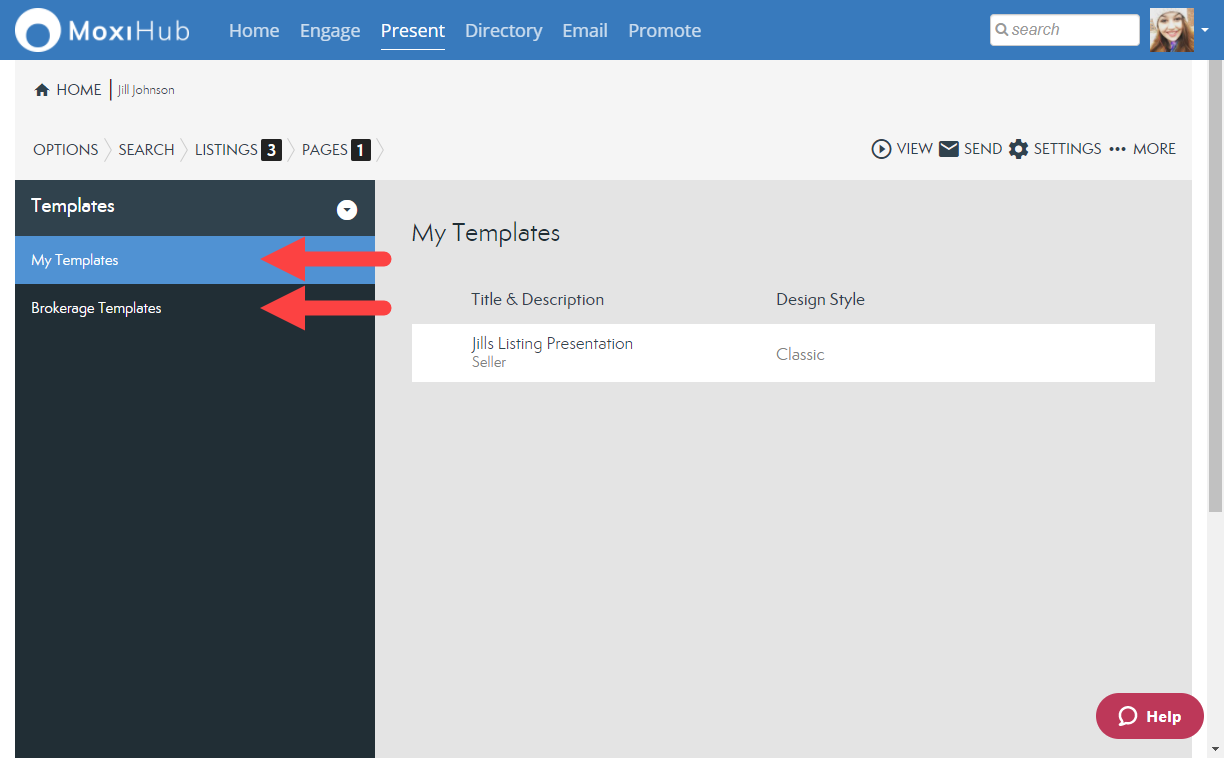
Note: If you would like to see changes made to Brokerage Templates, please reach out to your brokerage directly.
7. To view the templates, select the Template Title. This will bring you to the template overview where you can see what pages are included in the template.
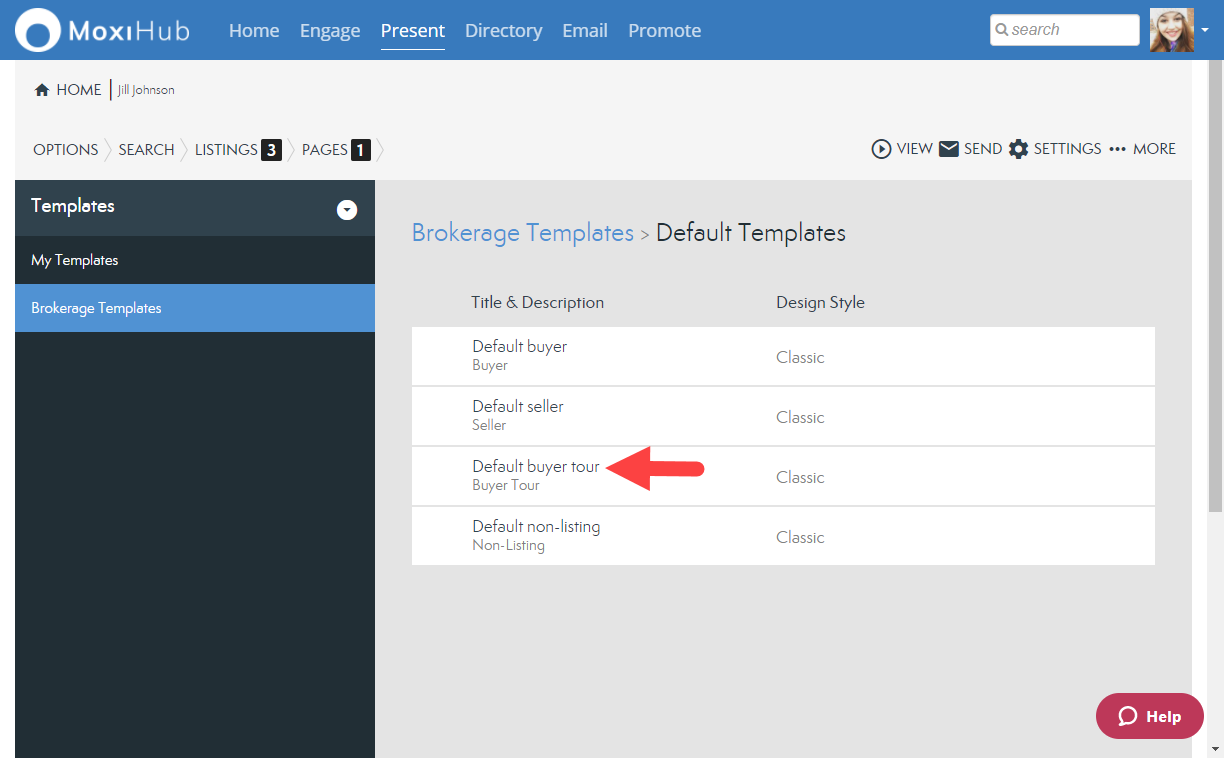
Note: You can always add additional pages or remove pages as needed after applying the template.
8. Once you have chosen a template, select Apply in the top right (see below).
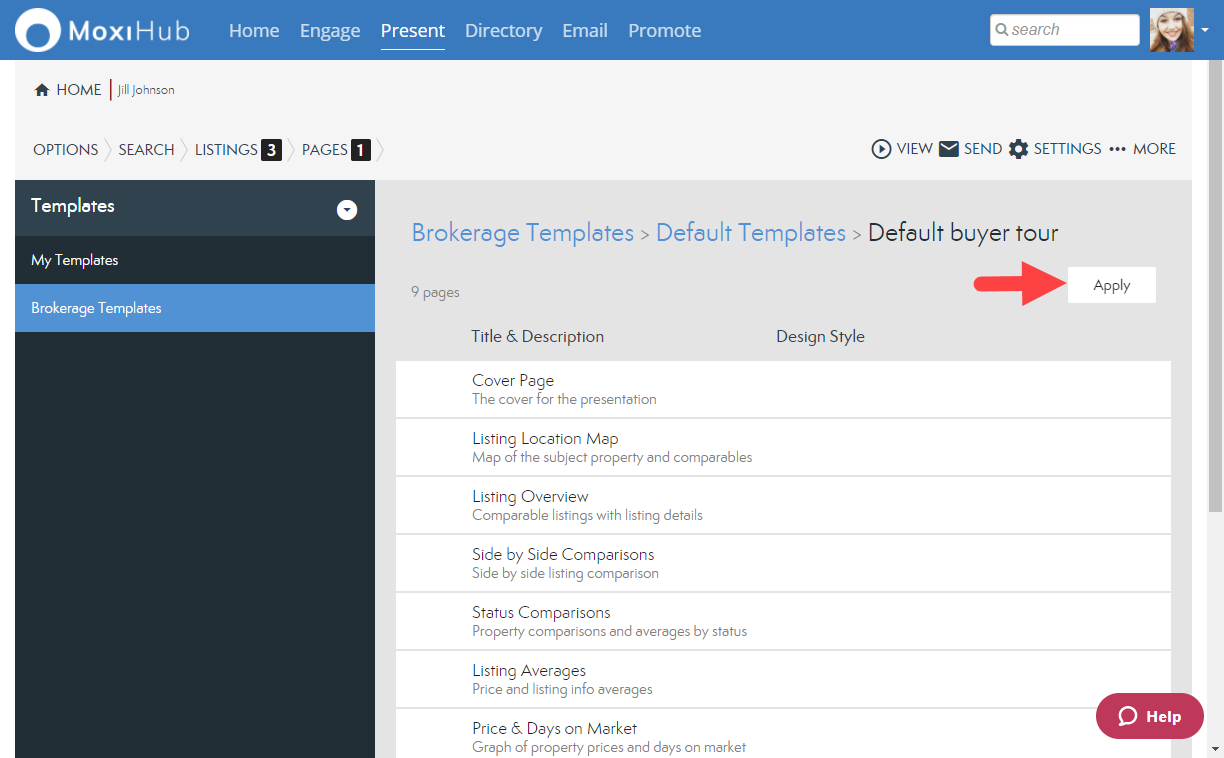
Note: The template must be set up for your presentation type. i.e. a Seller presentation cannot have a Buyer template applied. The Apply button will be grayed out if the template is not applicable to the presentation.
9. Confirm you are ready to replace the existing page template for your presentation by selecting Yes, Replace (see below).
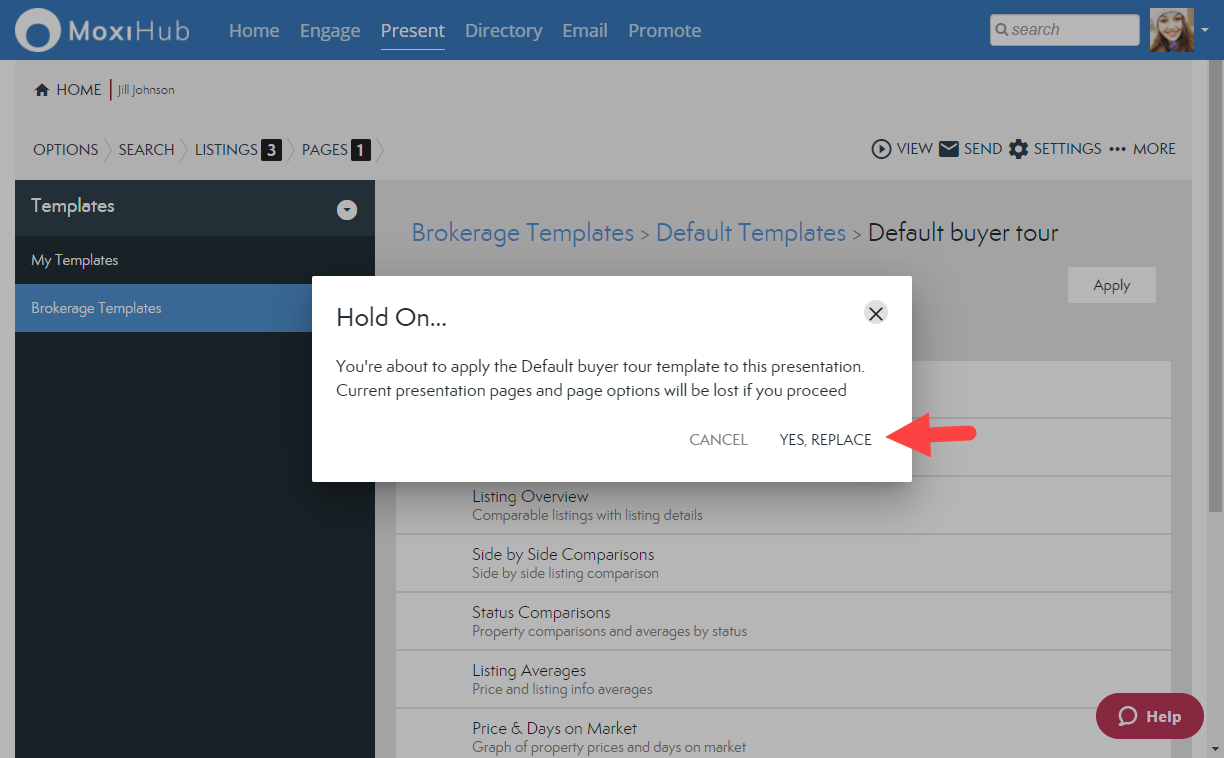
10. Once you have replaced the template, you will automatically be brought back to the Pages tab where you can add, remove, or adjust pages as needed.
See additional resources for adding or removing pages:
Adding Pages from Your Library
How do I remove unwanted pages from my presentation?
Comments
0 comments
Please sign in to leave a comment.