E-Blast campaigns are a great way to send a single email to your contacts using the bulk mailing features found in MoxiEngage Campaigns.
Add New E-Blast Campaign From Library
Editing Your Campaign Email
Sending Your E-Blast Campaign
Add New E-Blast Campaign From Library
To begin sending an E-Blast Campaign using your own edited email, you will need to add an e-blast campaign from your Library. These first steps are identical to those found in the Help Article - Set Up a New E-Blast
1. Select Campaigns from the navigation bar on your Engage Dashboard.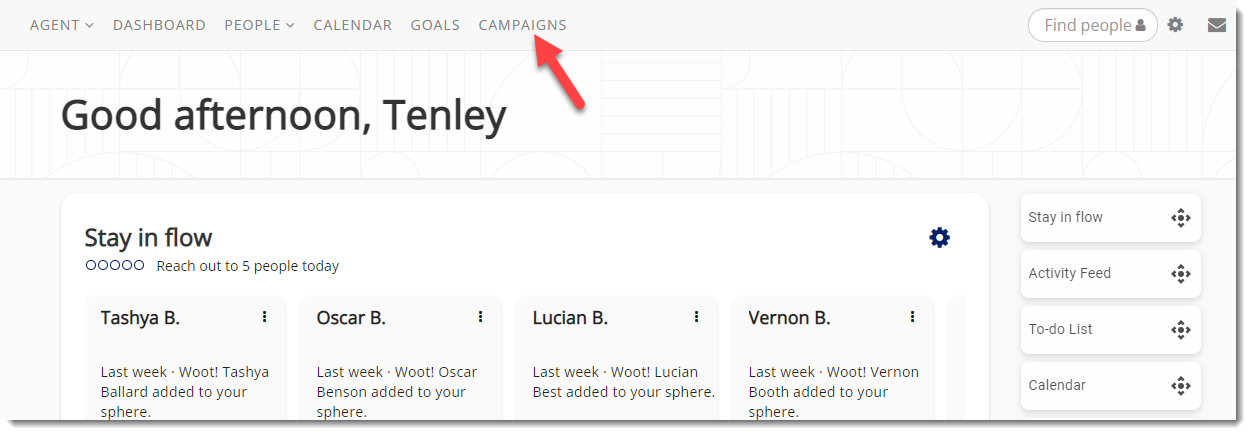
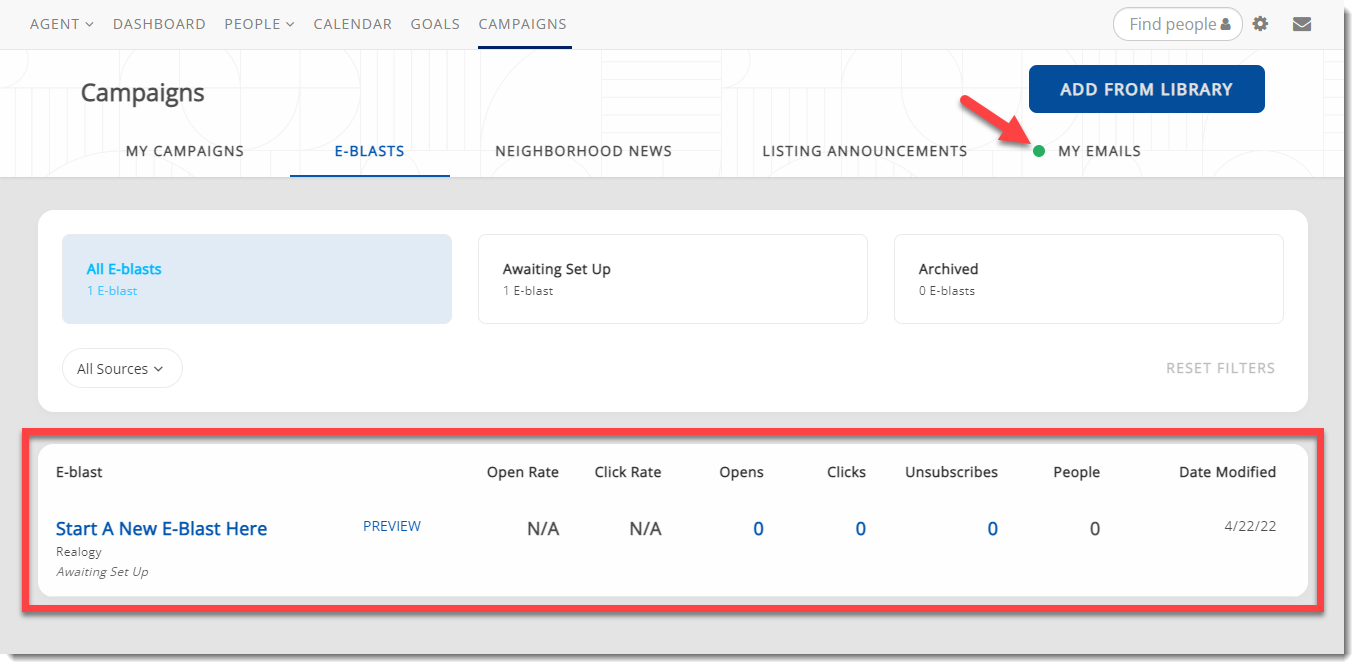
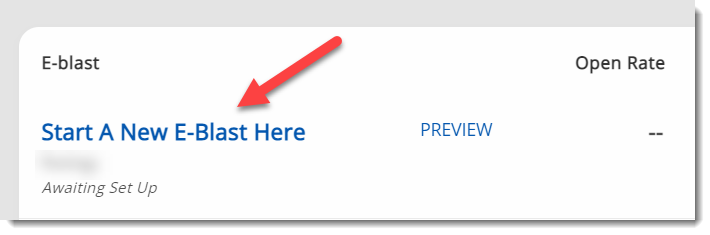
2. Select the E-Blast tab.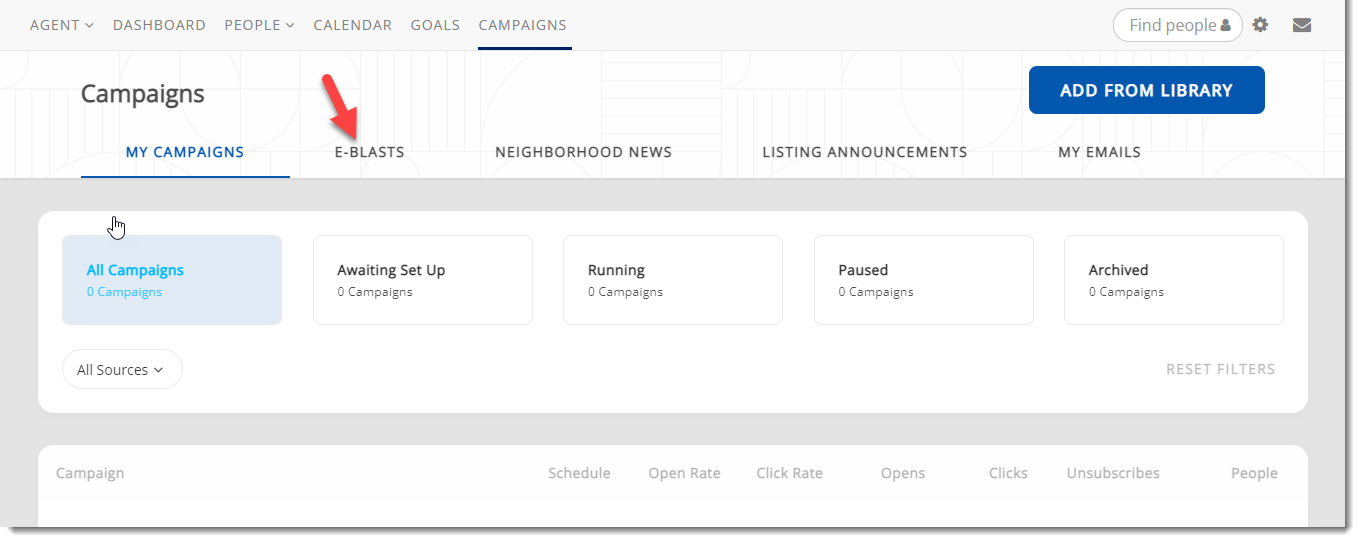
3. Select the ADD FROM LIBRARY button. 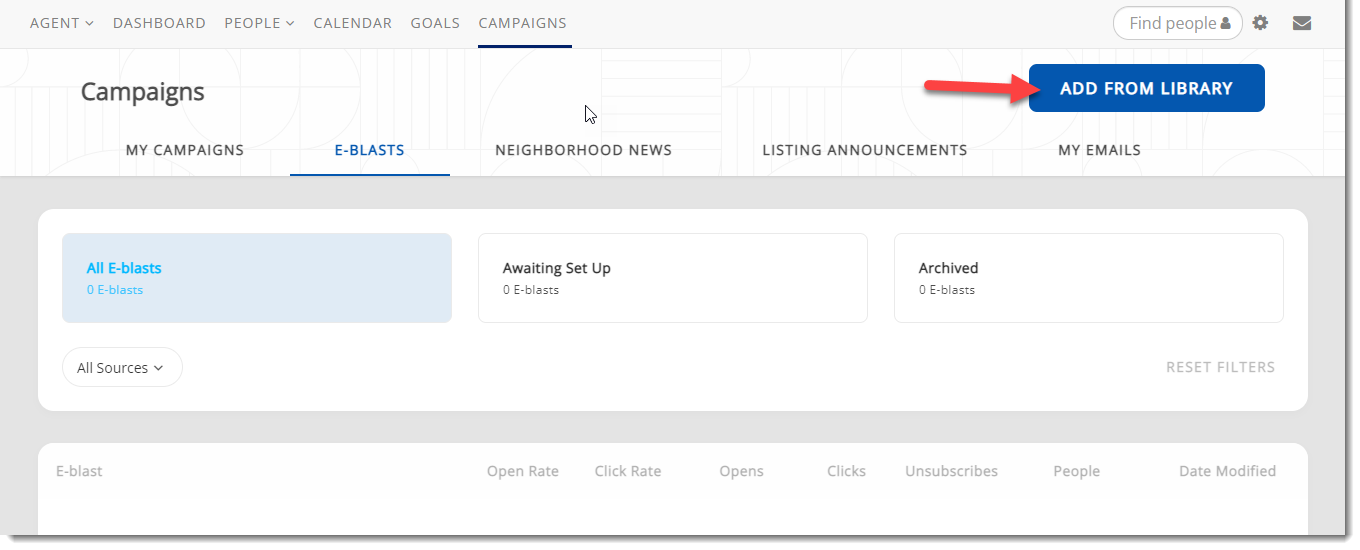
4. Choose an E-Blast from the list by selecting the Add to Campaigns button next to the option you want. Then select Close.
 NOTE: If your brokerage allows agent edits to campaigns, there still may be some campaigns you are not able to edit. If a campaign cannot be edited, it will say not editable.
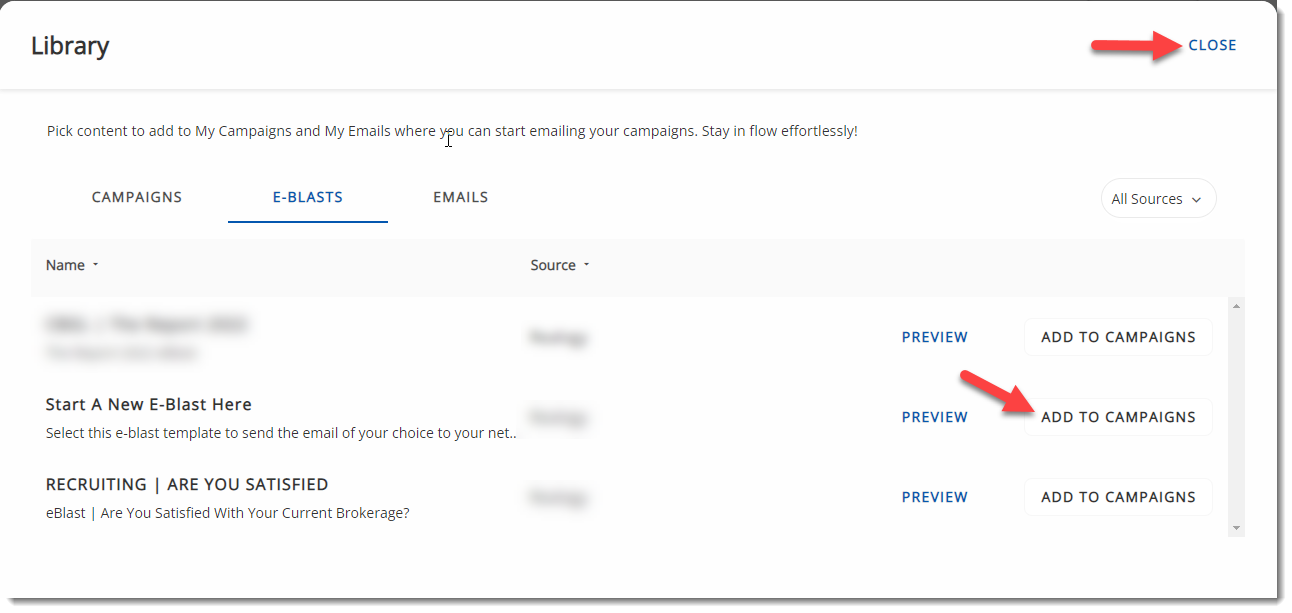
6. View your new campaign on the dashboard.  The green dot next to a tab name indicates there is new content (example: The green dot next to My Emails below is indicating that one or more new emails are present on that tab).
7. Select the name of your campaign to view the details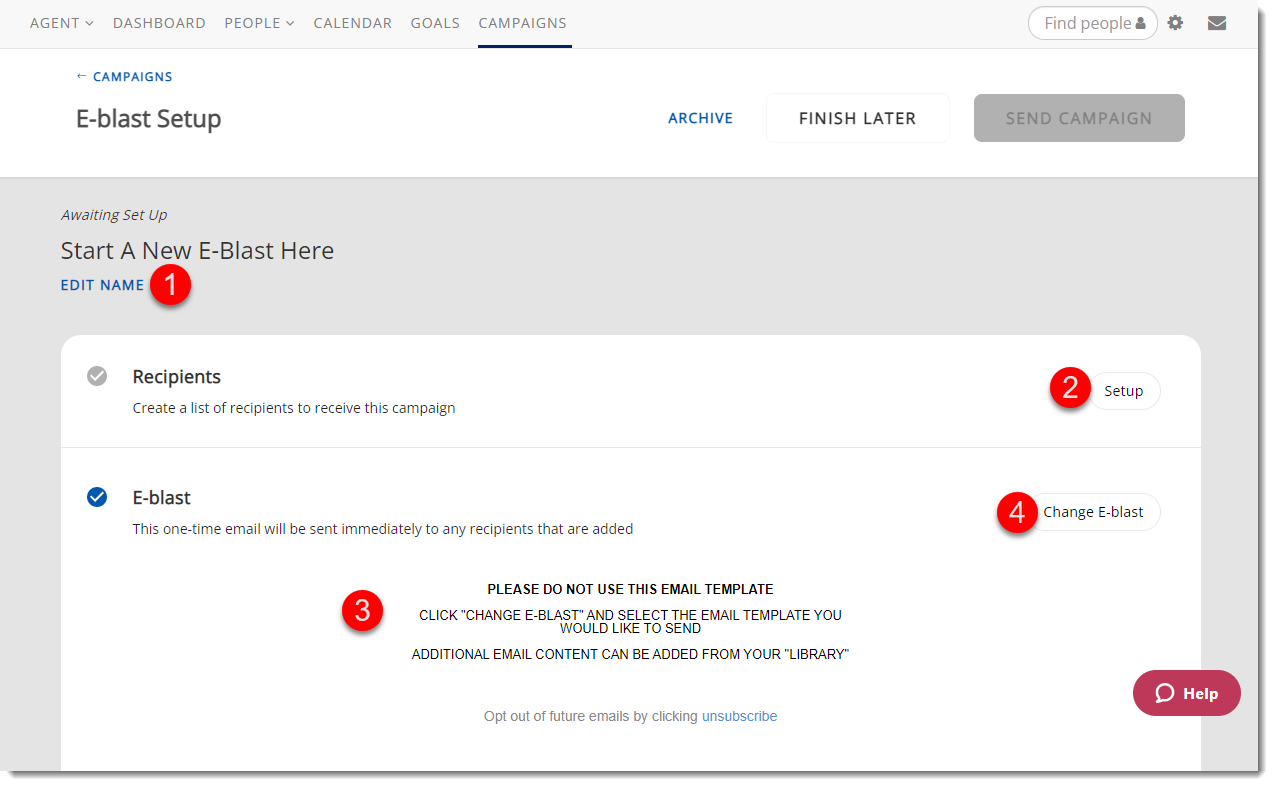
 Edit Name: Change the name of your campaign here. This will only display on your account so change it to anything that will make sense to you.
 Recipients Setup: Select the Setup button to add the people who should recieve this e-blast campaign.
 Email Preview: In an E-blast campaign, you will see a preview of what your email looks like in this space.
 Change E-blast: Select the Change E-blast button to choose a different email to be sent in this campaign.
Editing Your Campaign Email
The steps for editing the email associated with your E-Blast campaign follow the same general steps found in the Help Article - Editing a Campaign Email and any previously edited email can be used with your e-blast campaign.
1. To edit the email associated with your E-blast campaign, select the Emails tab from the main Campaigns screen.
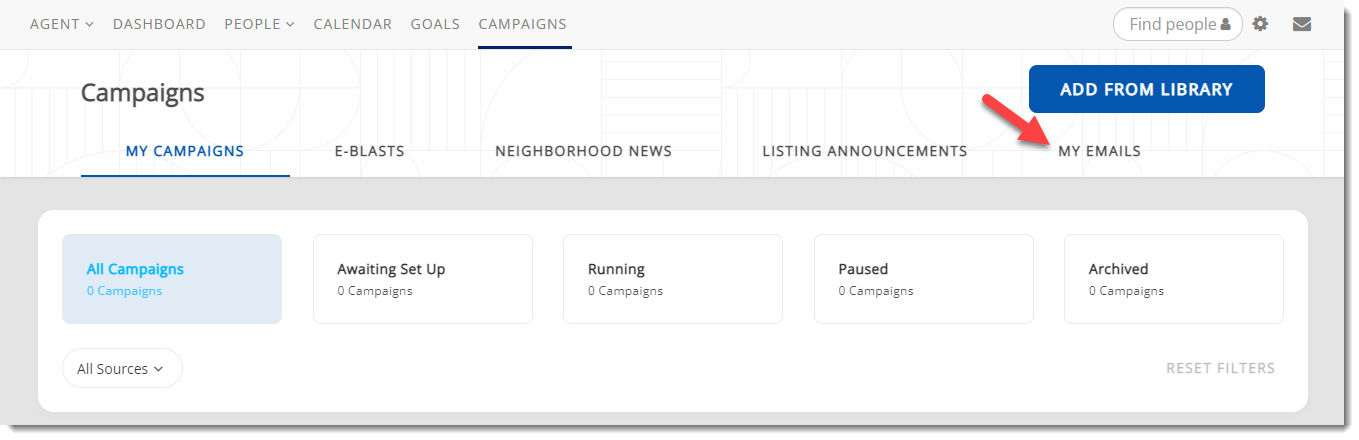
2. Select the email you want to edit. Tip: The email will indicate which campaign it is associated with under the name of the email.
After you select the email, you will have several options to edit:
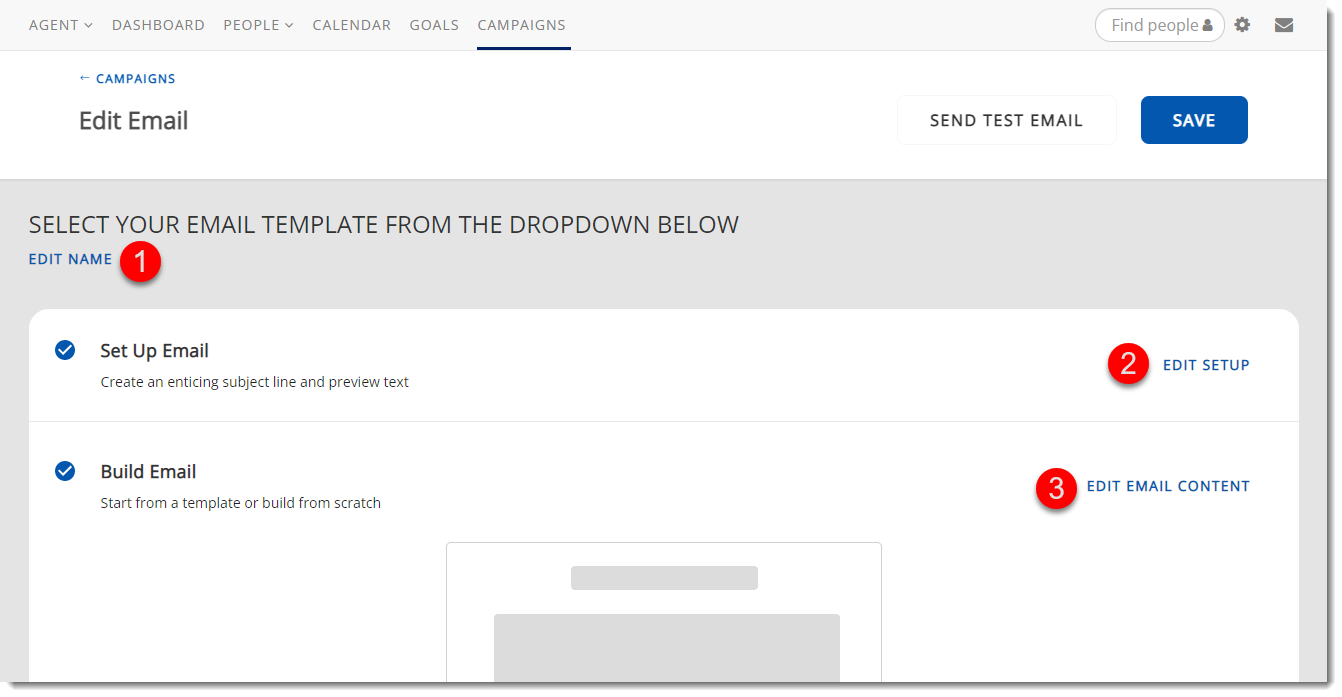
EDIT NAME: The name of the email will only be visible to you, so you can name this anything that will help you identify it in your library of emails.
EDIT SETUP: Update your email subject line and preview text as well as determine if this email will include a header, footer, or signature.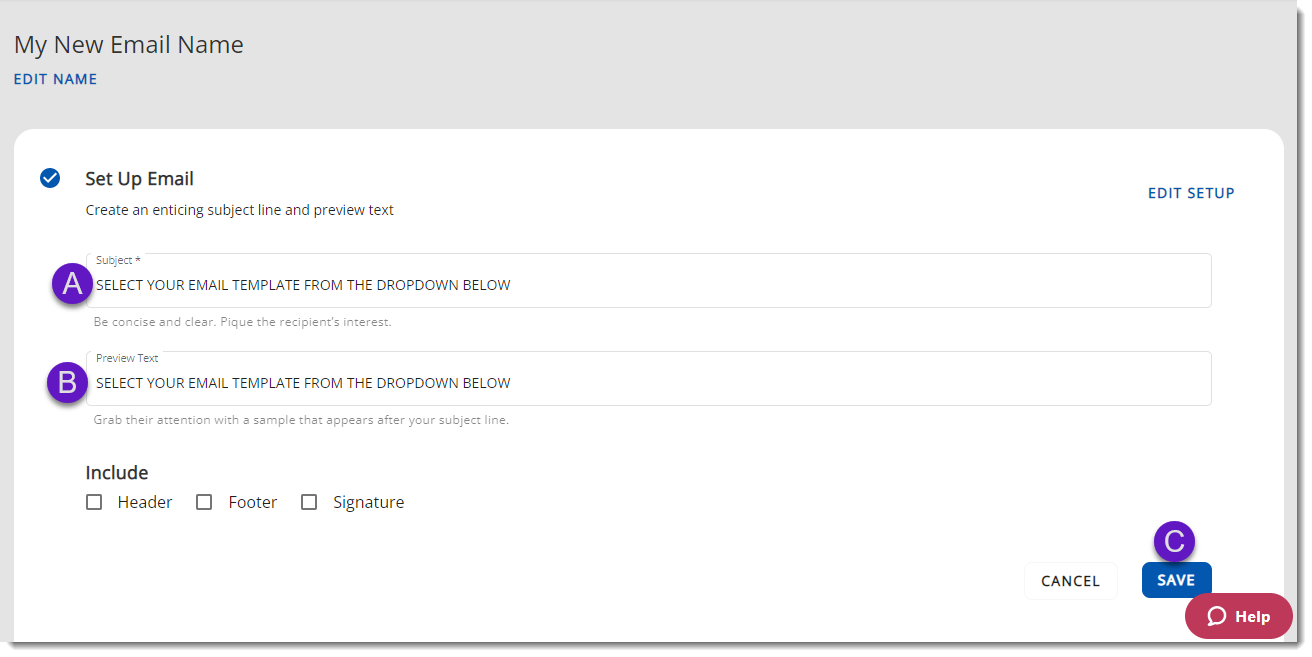
 Subject: The subject line of your email that your recipients will see
 Preview Text: This line of text will appear in the recipient's inbox depending on how they have their view settings. If they choose to see email previews in their inbox, the first few lines of text from any email will display. You can customize that experience by adding text to this Preview Text area.
 Save: Save your updates
EDIT EMAIL CONTENT: Create the email you wish to send by selecting the Edit Email Content button.
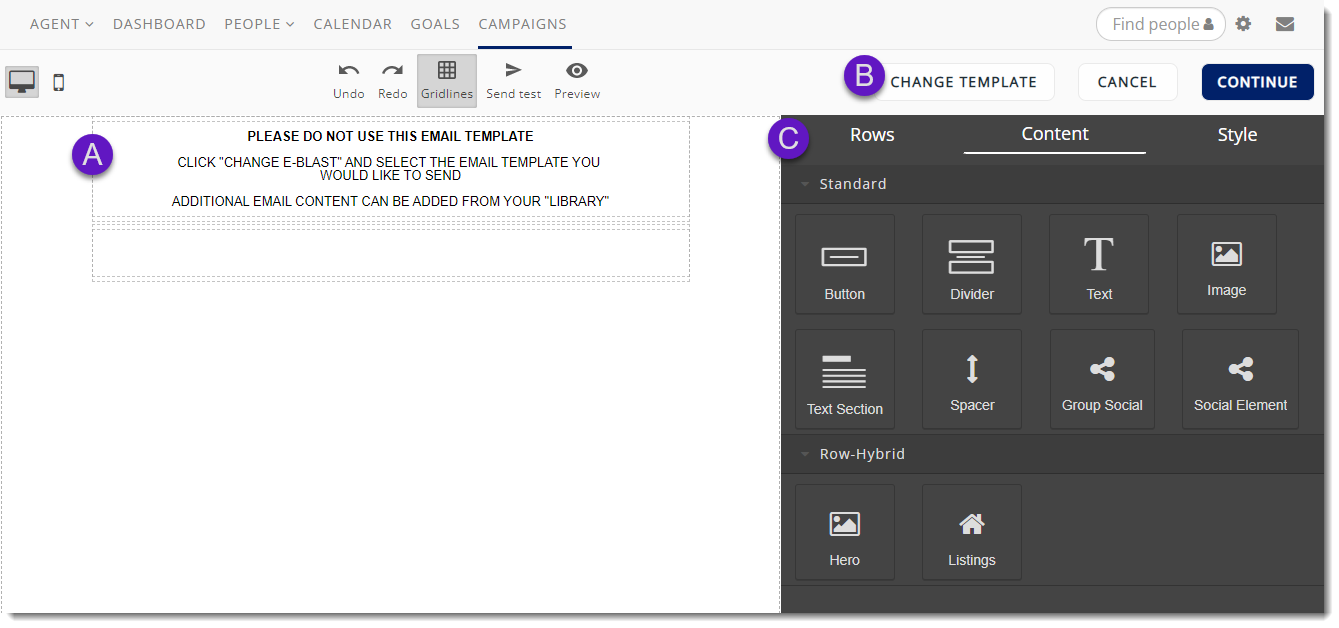
Email Body: This area will display the content and layout of your email
Change Template: Select different layout options from existing templates available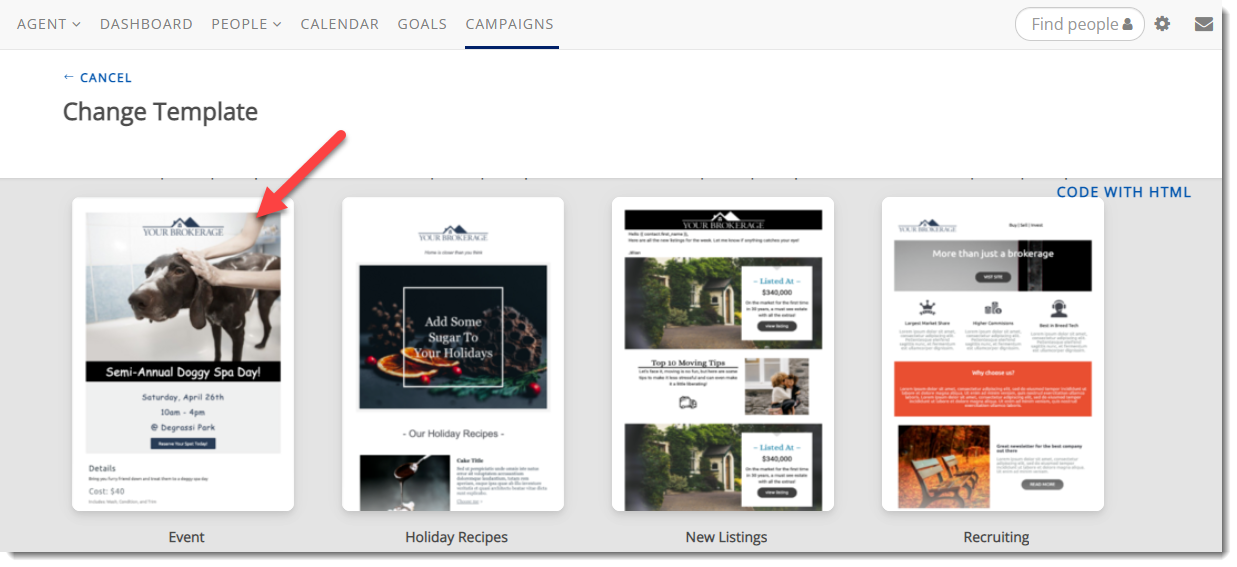
Rows, Content, Style: Customize your email by adding Rows, dragging and dropping content elements (eg. text boxes, images, buttons, and listings), and styling the content (eg. updating spacing, color, and adding links).
Sending Your E-Blast Campaign
Now that you've edited your email, you're ready to send your campaign. Let's finalize the steps for setting up your campaign, adding your people, and sending it out.
1. Select the E-Blast campaign by clicking on the name.
2. Edit your campaign name and Save. 
3. Select Setup to add Recipients

4. Select Add recipients

5. Add people by select the check box next to the person's name, or select the checkbox next to the group name under the Groups tab. Then select Add.
6. Once you're ready to send your campaign, select the Send Campaign button. NOTE: After you select the Send Campaign button, your campaign will immediately send to your selected people. 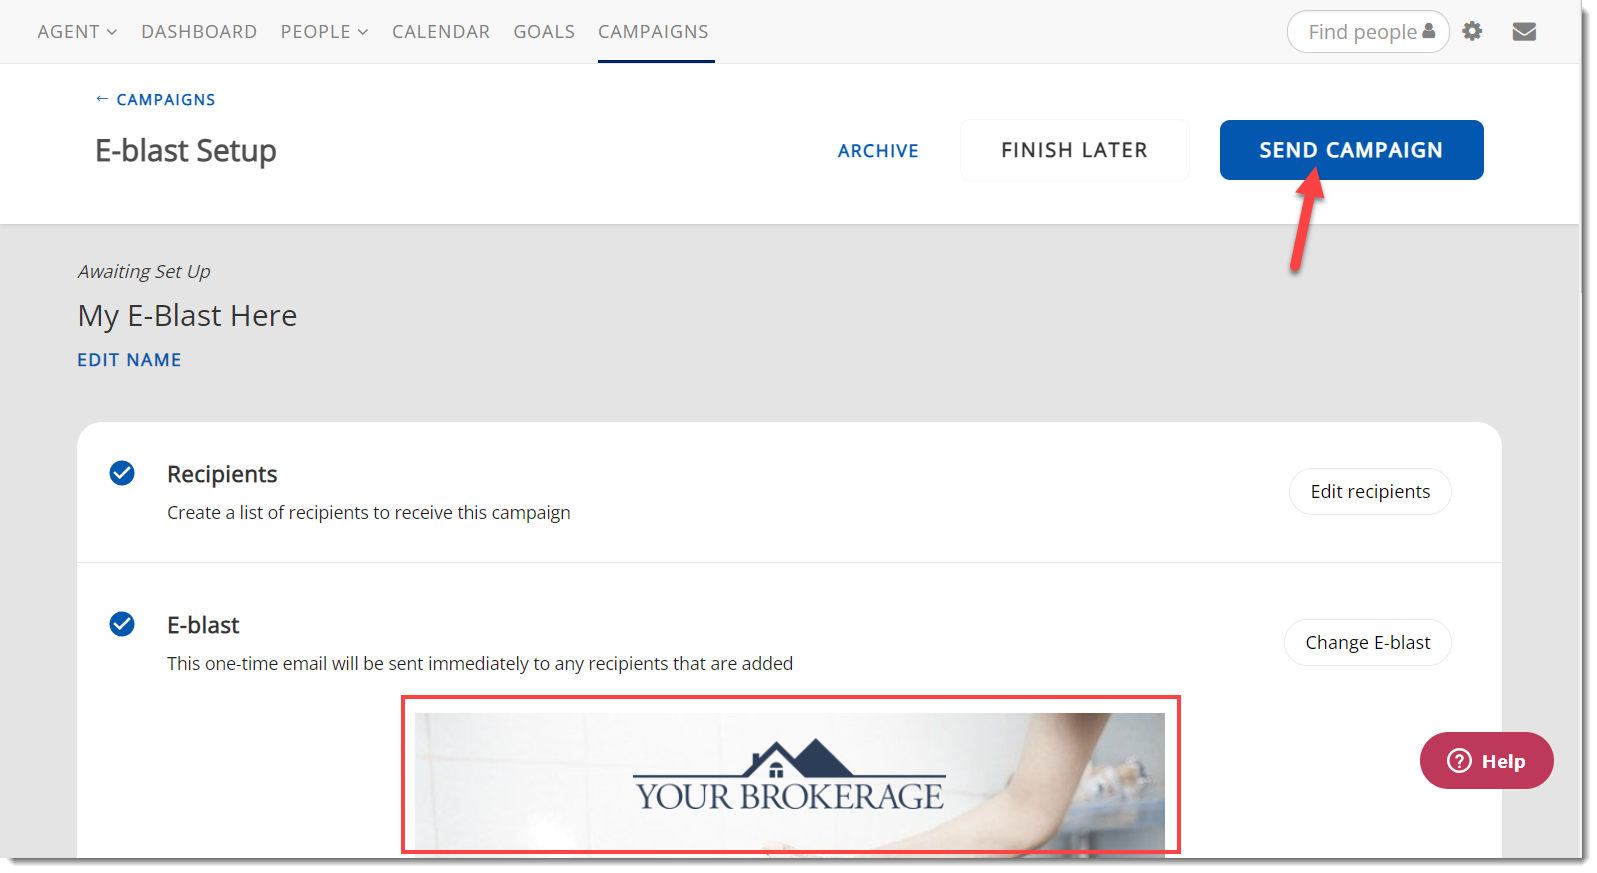
Tip: You can see your updated email preview on the campaign set up screen.
Comments
0 comments
Please sign in to leave a comment.