To create a pre-built campaign:
- Click Campaigns on the main menu at the top of any page.
- Click on the icon of the pre-built you wish to use below "Available Campaigns".
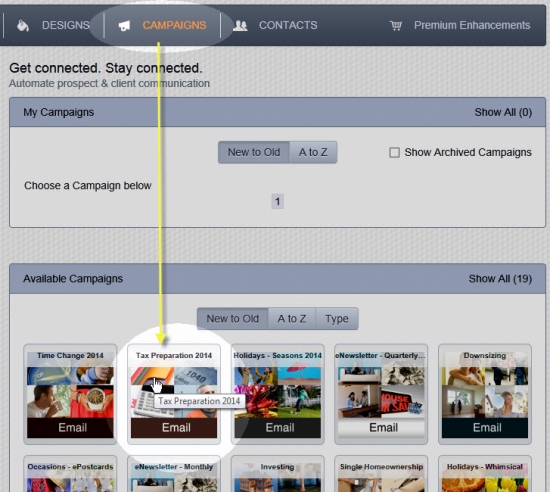
- Use the Select Campaign button to load the campaign into your portfolio.
- Add recipients to the campaign. Near the right side of the page, click on the Manage Contacts button. Next click on Contacts.
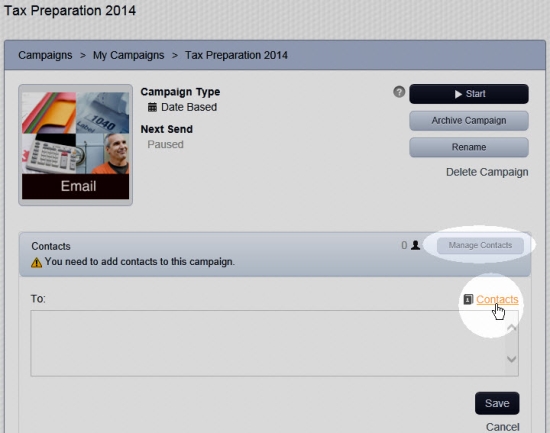
- Select the contacts and/or groups to send the campaign to, then click the Select button.
- Click the Save button. Your campaign is now created, but it is still in an inactive state, to make sure it doesn't start before you are ready.
- Edit any event projects if desired, and add or remove contacts as you like. To edit events, click on the event in the list, then click the Edit Project button.
- Click on an item in the list of events for more about it (like the date it will be sent to your recipients). For more information about the timing of campaign events, and which recipients will receive which events, please see What is the difference between a date-based campaign and a time-based campaign?
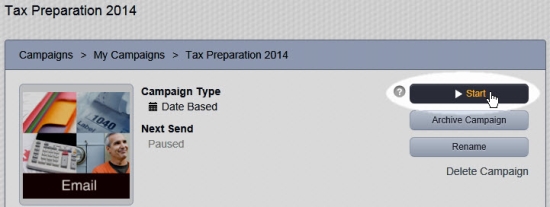
- Start the campaign with the Start button.
Comments
0 comments
Please sign in to leave a comment.