To replace a single image in a project:
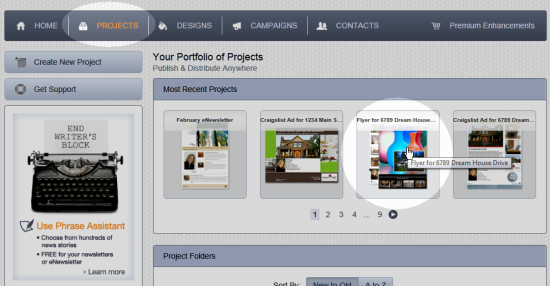
- Click Projects on the main menu at the top of the page.
- Select the project you are working with:
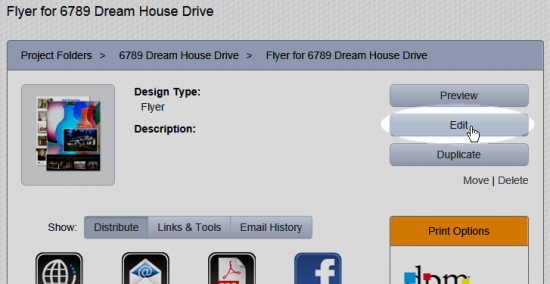
- Click on the Edit button near the right side of the page:
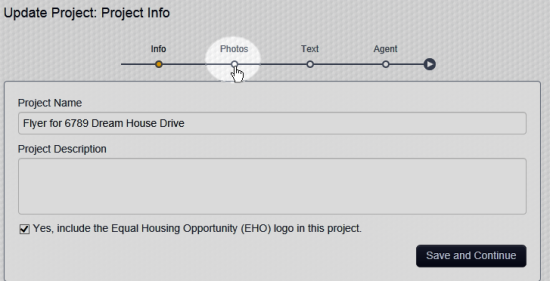
- Select Photos on the progress bar:
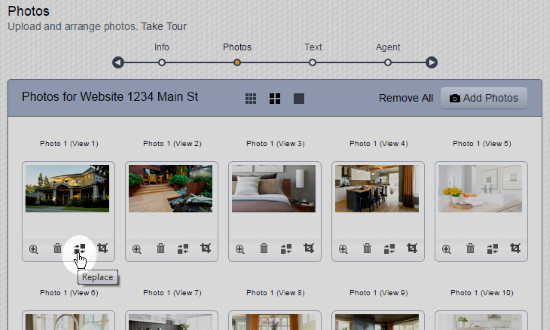
- Click on the replace button under the thumbnail of the image to be replaced:
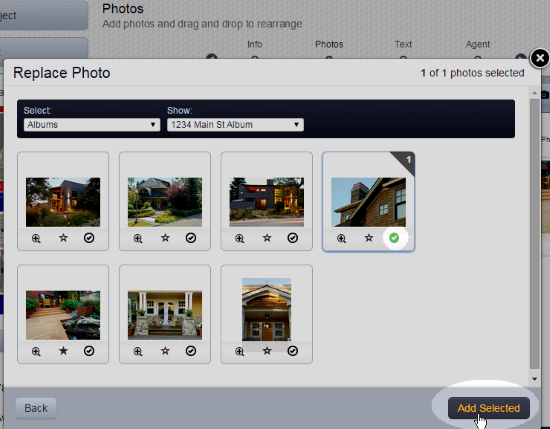
- Choose the location that contains the image you want to use (e.g Album Photos):

- Click the check mark under the image you want to use, then click the Add Selected button:
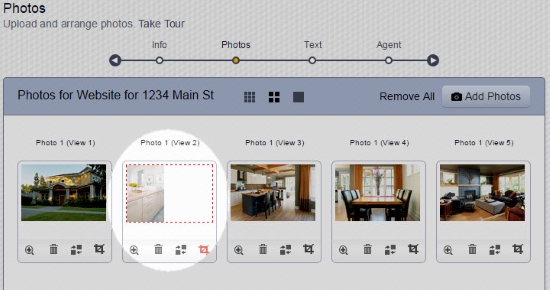
- Crop the new image if needed, as in the example below:
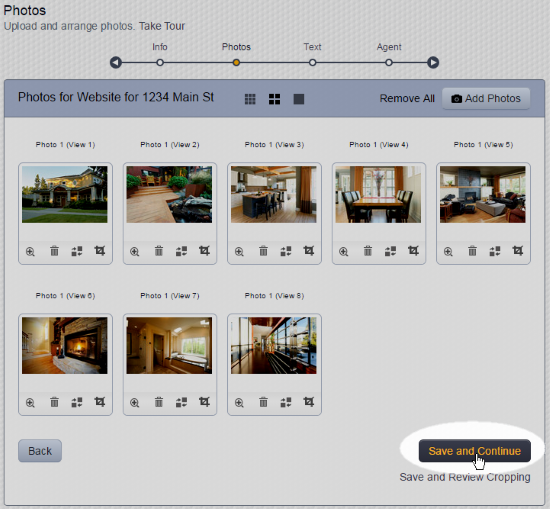
- Click the Save and Continue button to save your changes:
Comments
0 comments
Please sign in to leave a comment.