To create a new entry on the Listings tab:
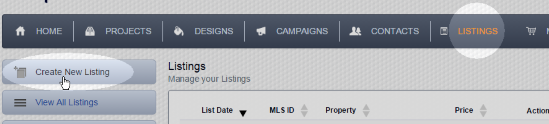
- Click on Listings in the main menu at the top of any page:

- Click on Create New Listing at the top of the left-hand column:
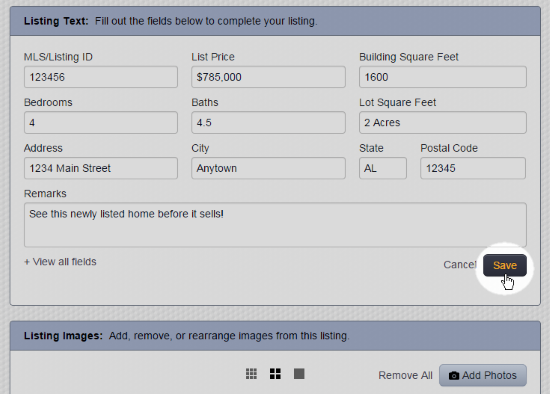
- Enter the property information. For additional fields, click View all fields. Note: Not all fields are available in all design templates. When done, click the Save button:
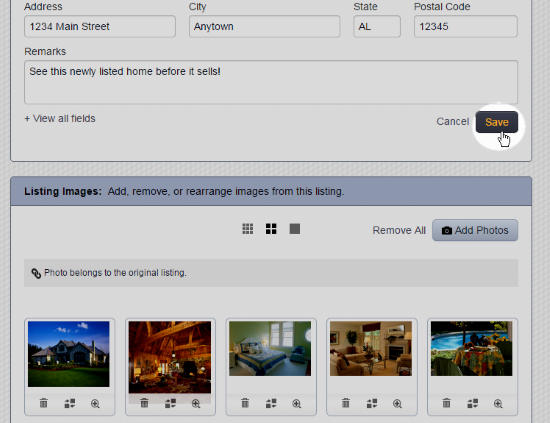
- Scroll down and click the Add Photos button to add photos of the property (for more detail on adding photos see How do I upload photos directly to a project?):

- Click the Save button. Either of the Save buttons on the page can be used:
Note: These instructions apply only for accounts that have access to the Listings tab.
Comments
0 comments
Please sign in to leave a comment.