The option to automatically crop images is found on design templates intended for printing, and on some design templates intended for online distribution. The auto-crop option is not on templates which do not require cropping.
The automatic cropping feature applies only to image slots intended for property photos. There is no automatic cropping on your agent profile photo, primary logo, or postal indicia images.
For New Projects
When creating a project with a template requiring images to be cropped, you find the option to automatically crop images on the first page seen after selecting the template from the design gallery: 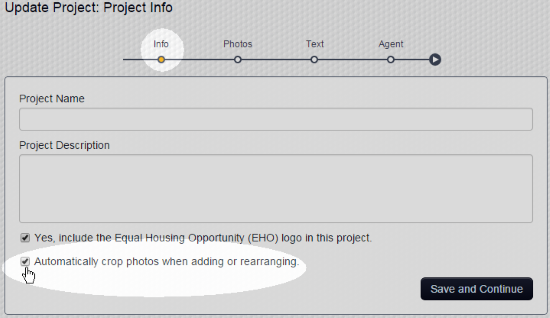
The option is checked by default. To disable the automatic cropping of images, uncheck the box labeled "Automatically crop photos when adding or rearranging.", before clicking the Save and Continue button. Note: Disabling the automatic cropping of images is not recommended.
With auto-crop enabled your images will be automatically cropped as you add them to the project. Click Save and Continue to proceed with the autocropping selections: 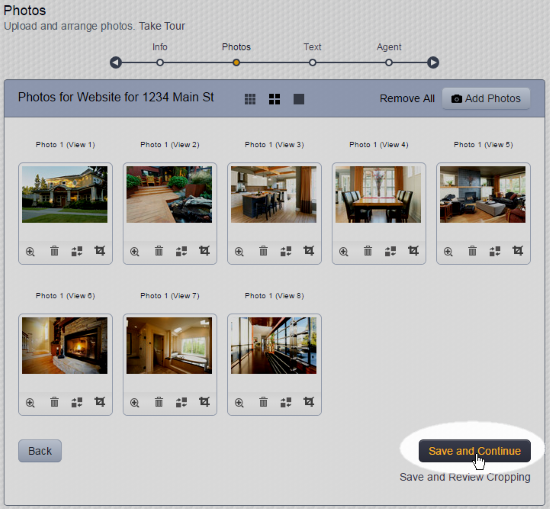
For Existing Projects
To enable the automatic cropping of images on a project for which it is not currently enabled, follow these steps:
- On the main menu at the top of any page, click Projects.
- Click on the folder which contains the project you want to edit.
- Select the project you want to edit.
- Click on the Edit button near the right side of the page.
- Check the box next to "Automatically crop photos when adding or rearranging", then click the Save and Continue button (Note: This option is not displayed for all project types. Some project types do not require image cropping.):
Enabling the auto-crop option will not force any cropping to change on images that are already in the project. Any cropping you previously applied will still be in place. Any images you add or move will now be automatically cropped.
If you want autocropping applied to all images in the project, remove all the images and then add the images to the project again (no need to upload again.) The images are automatically cropped when added back into the project.
Review Cropping
To review the cropping selections made by the automatic cropping feature look at the thumbnail images or click on the thumbnail to see a larger version.
Manually crop a single image by clicking the crop icon below the thumbnail: 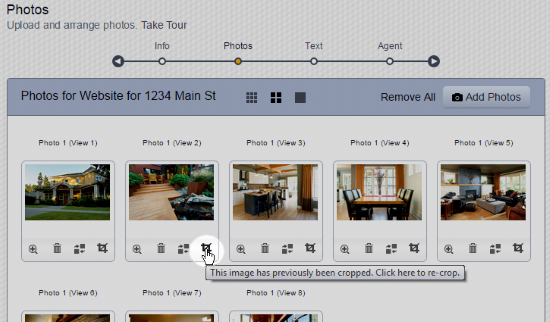
To crop more than one image use the Save and Review Cropping option (found below the Save and Continue button) to review, accept, or manually recrop, each of the images in the project: 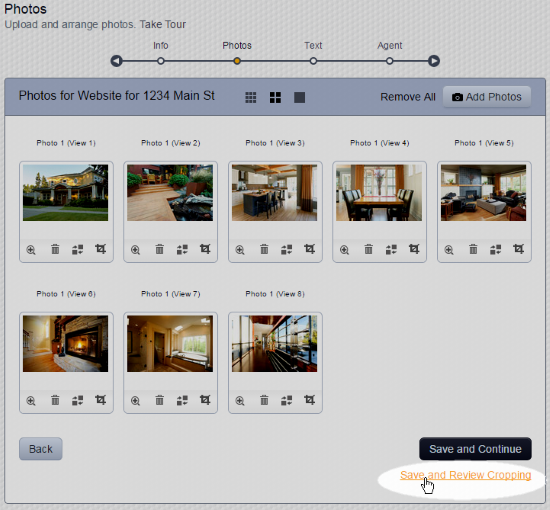
After clicking Save and Review Cropping, each image will be displayed, one at a time, in the cropping tool:
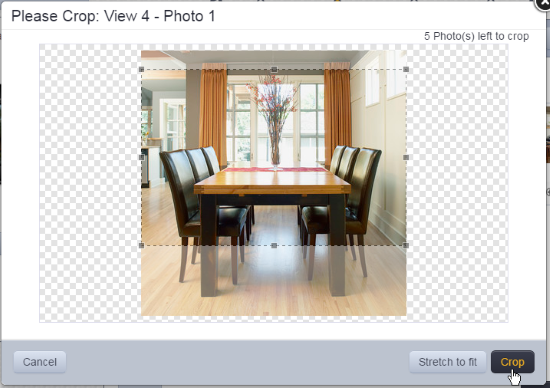
- To keep the automatically selected cropping, click the Crop button. You are taken to the next image for review.
- To change the cropping selection, drag the corners of the cropping area, and/or click and drag anywhere within the cropping area to move it. (Click here for more detailed instructions.) When you finish altering the cropping selection, click the Crop button. You are taken to the next image for review.
- To remove the cropping from the image, click Stretch to fit. Note: Not recommended as the image is likely to be stretched or squished in your final project. You are taken to the next image for review.
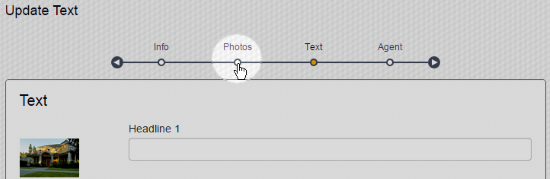
After making your choice on the final image, you are taken to the next step of creating or editing your project (usually the text for the project.) Use the Photos item on the progress bar to return to the photos page, if needed:
Comments
0 comments
Please sign in to leave a comment.