Create your Campaign email using the latest template workflow.
Create a Campaign Email Using Layout Templates
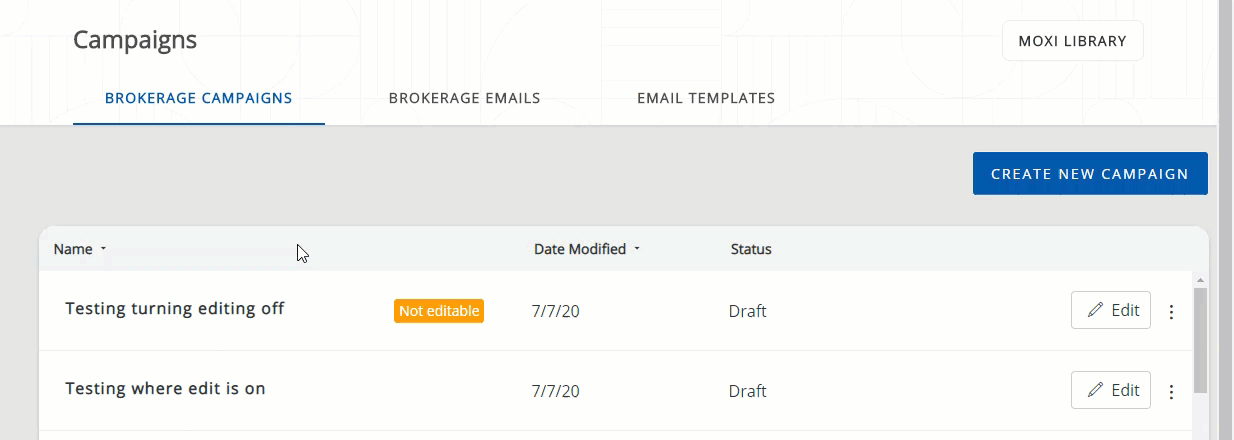
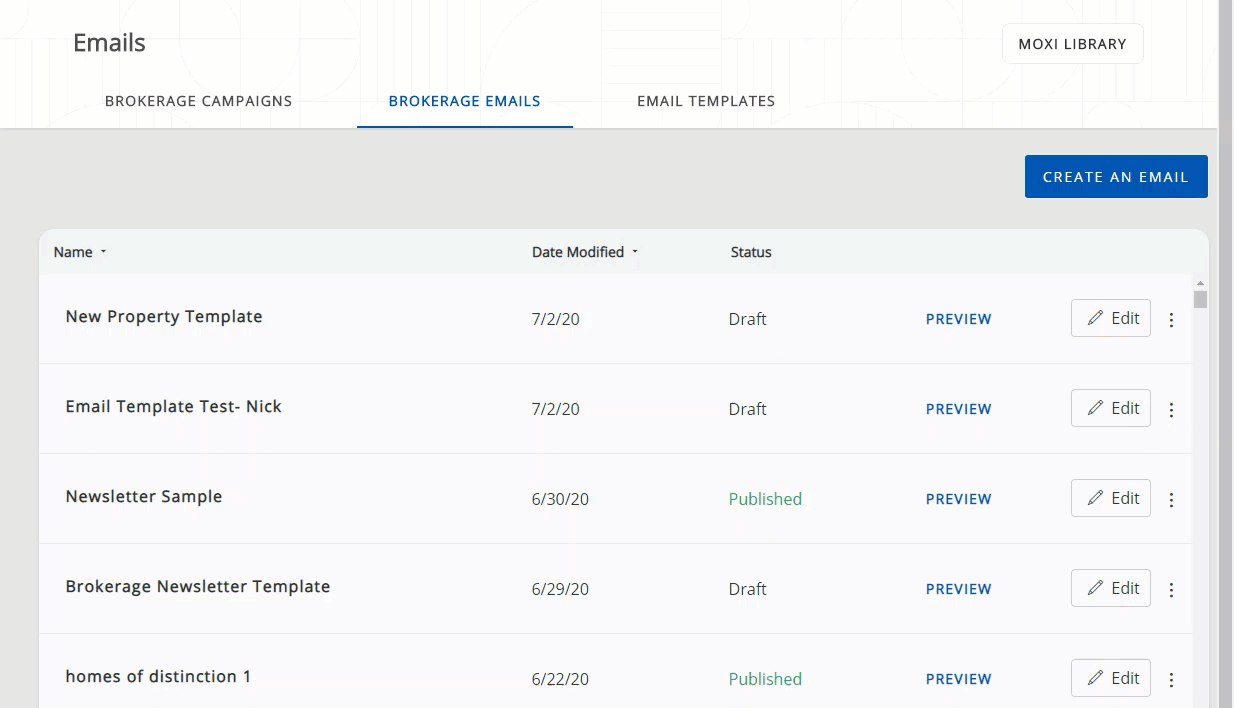
- From the Campaign Content Admin Screen, choose Brokerage Emails and select Create an Email (see below).
- If creating an email from an Office Campaign Content Admin account, choose Office Emails and then select Create an Email (see below).
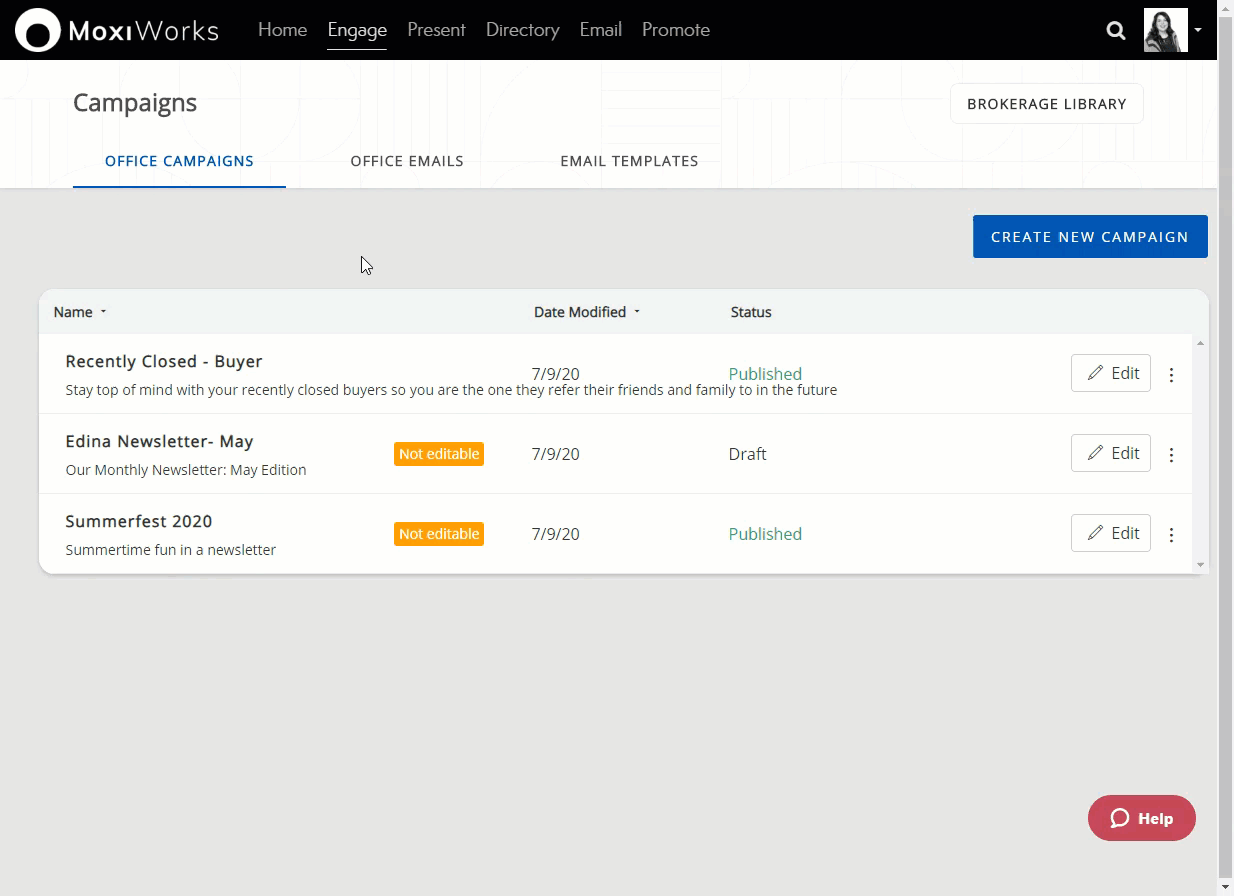
- If creating an email from an Office Campaign Content Admin account, choose Office Emails and then select Create an Email (see below).
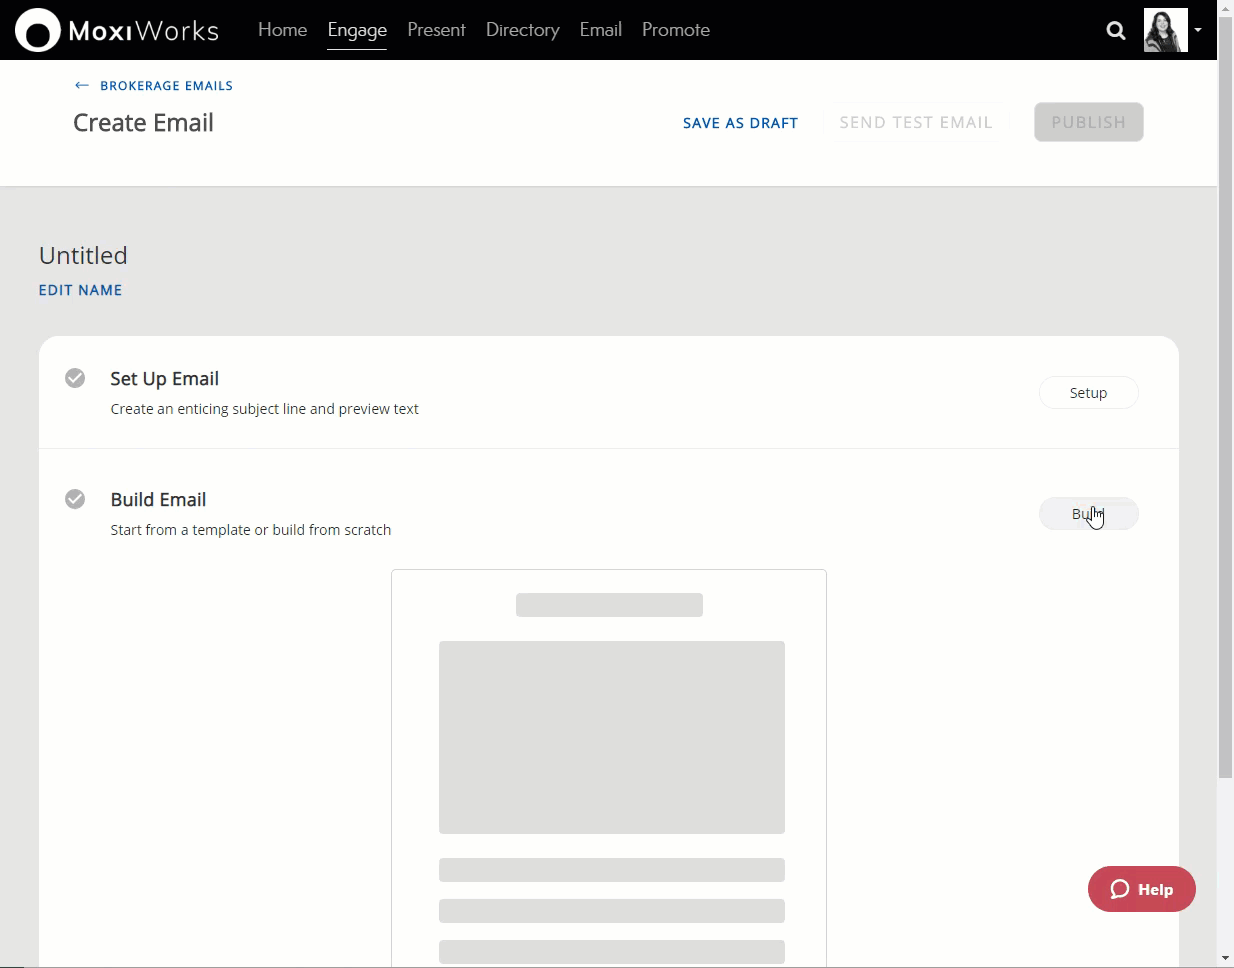
- Provide your email a name and then select Begin (see below).
- Setup your email by adding:
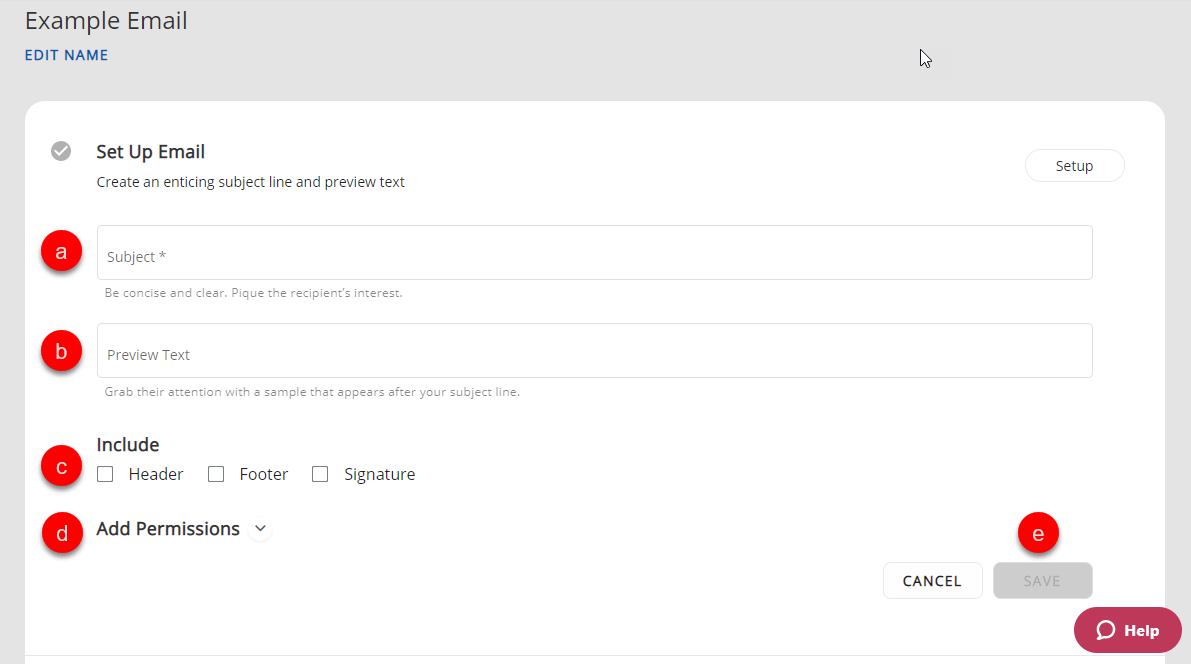
- Subject: Give your email a subject line that will catch your recipient's attention.
- Preview Text: Customize the preview text your recipient will see in their inbox if they have preview mode turned on for themselves.
- Include: Add a Header, Footer, and/or your email Signature to this email. You can also leave these unchecked and create your own options when building the email.
- Add Permissions: Create emails for specific Organizations, Regions, Offices, or Roles (example: You can create a recruiting email used only by users with a Manager role).
- Save: Save your Setup settings.
- Build your Email by selecting the Build button. Choose your desired template and select it to begin editing (see below).
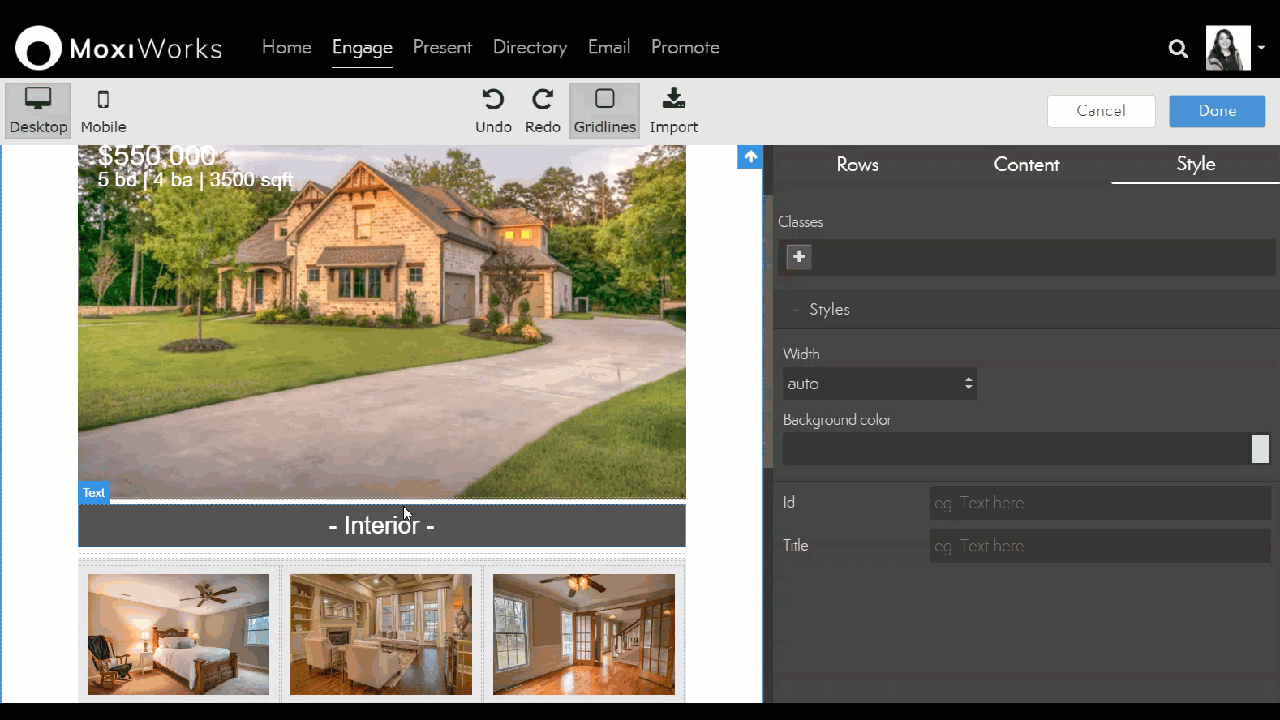
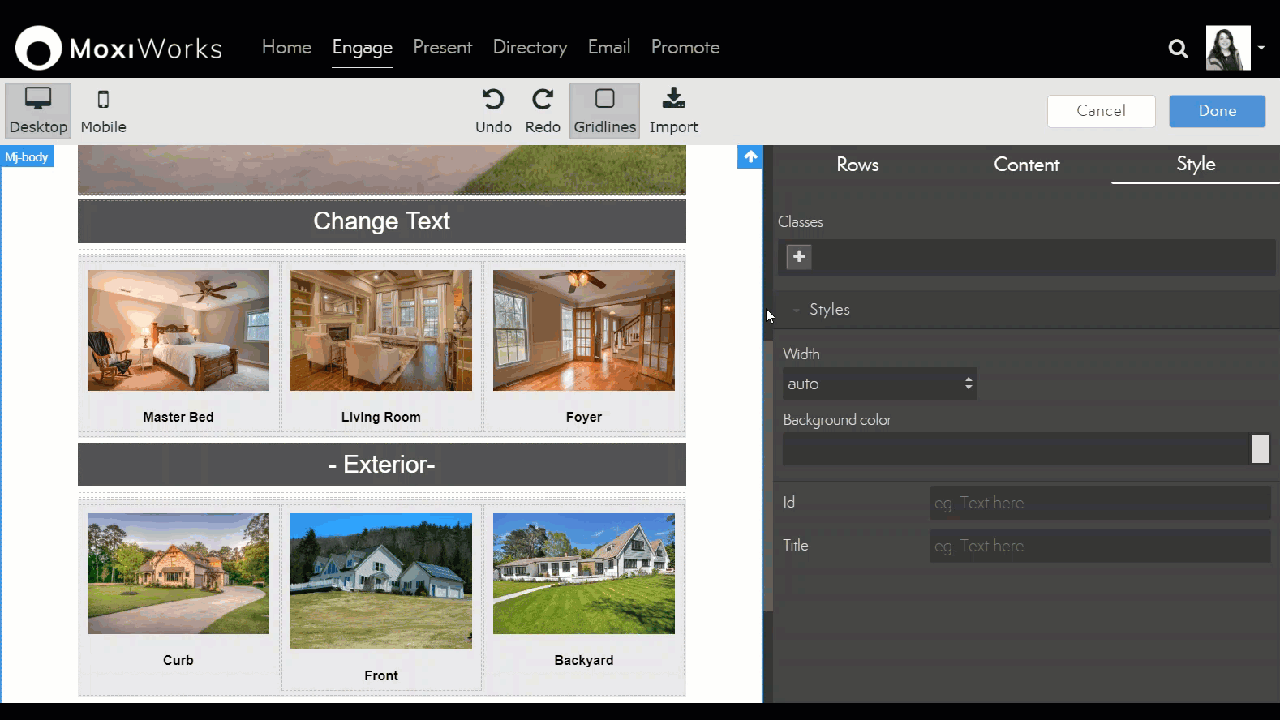
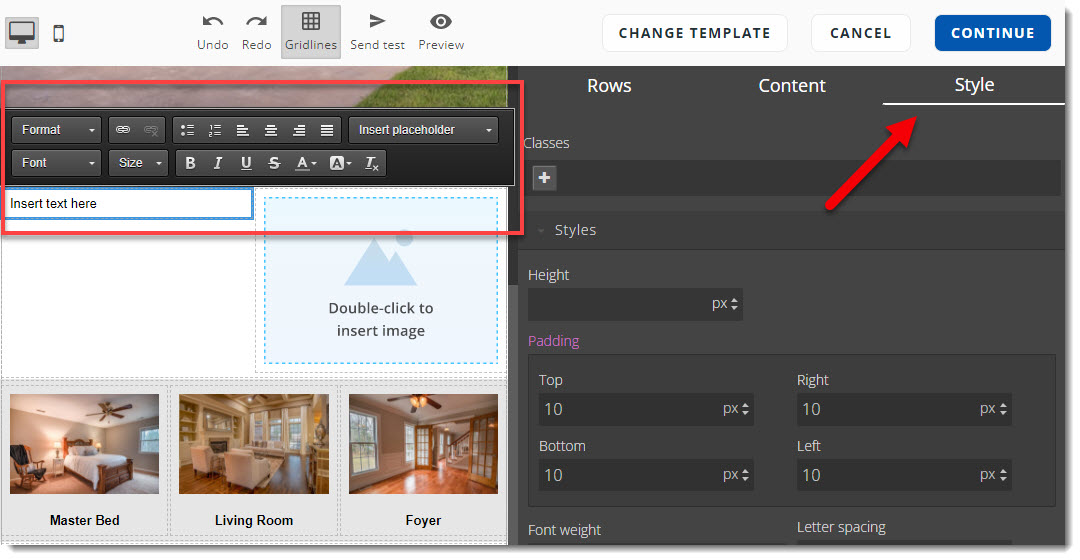
- To edit the content of a template, select the item you wish to change by double-clicking on it.
- For Text, you will see a Text Editor directly above the text (see below).
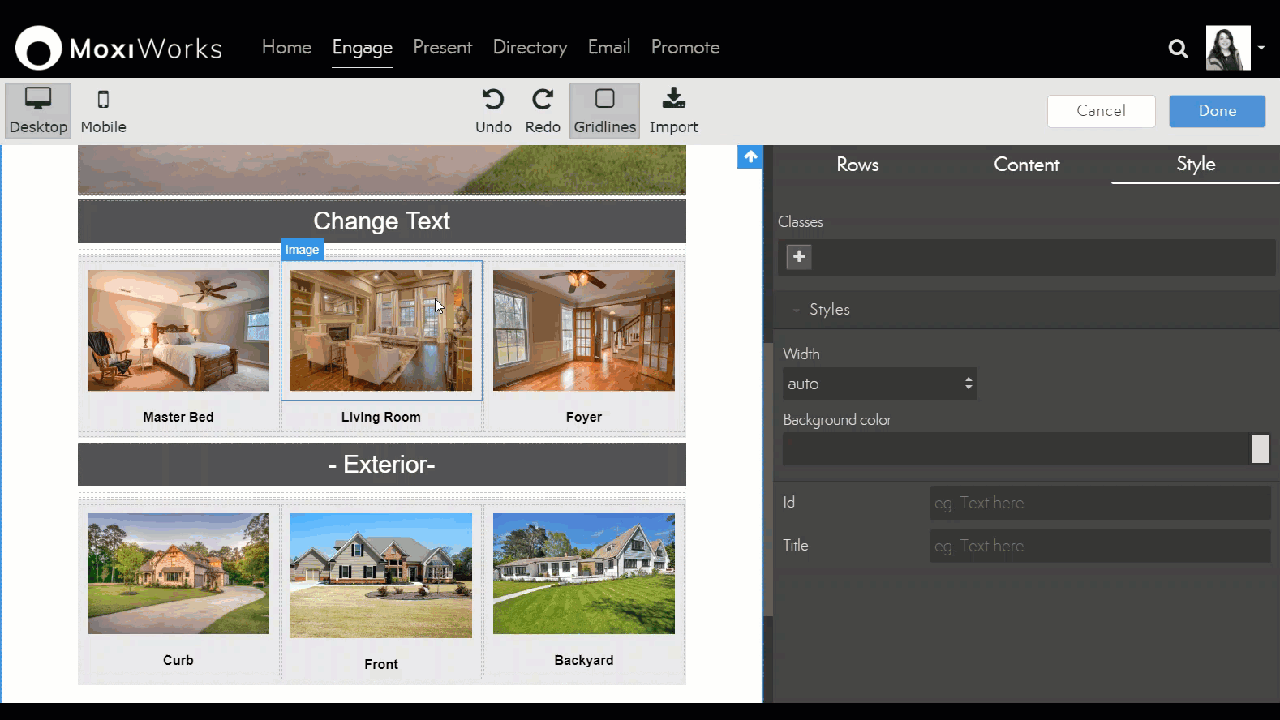
- For Images, you will see your Image Library where you can select an image or upload a new image (see below).
- For Hero Images, select the image and then go to the Style Menu on the right and scroll until you see Background URL. You can remove the image using the X and Images to open your Image Library (see below).
- For Text, you will see a Text Editor directly above the text (see below).
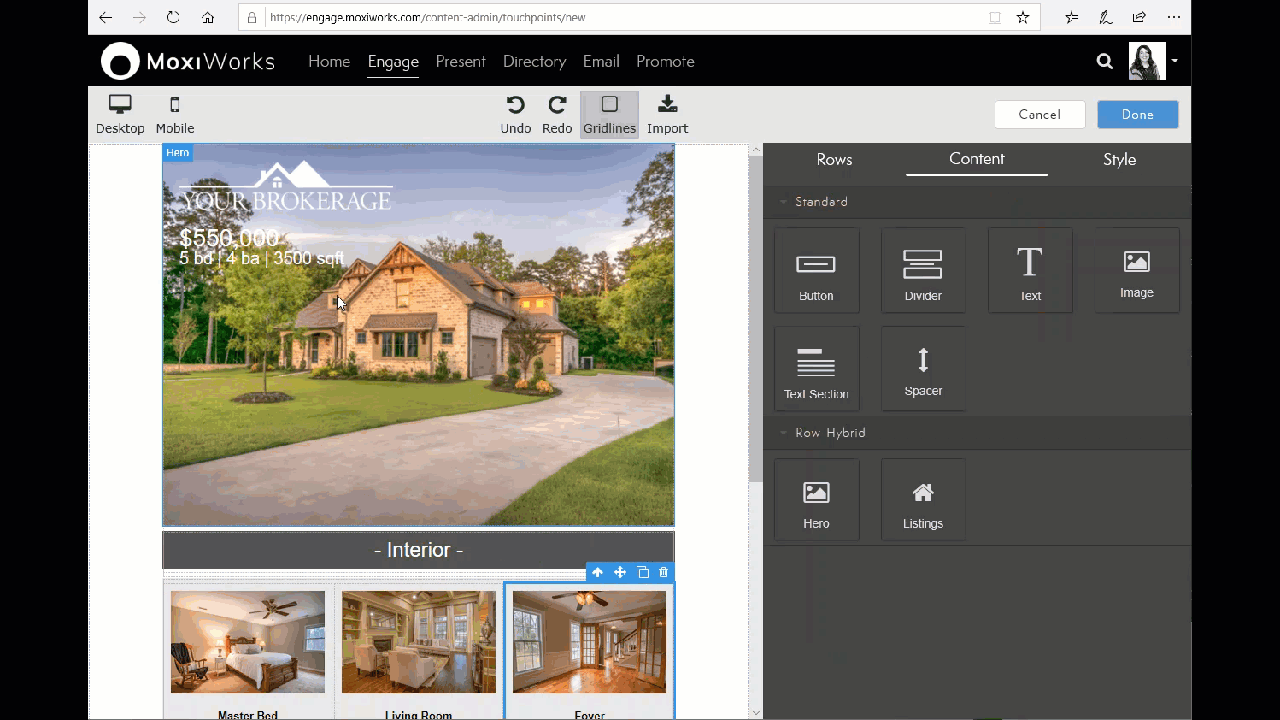
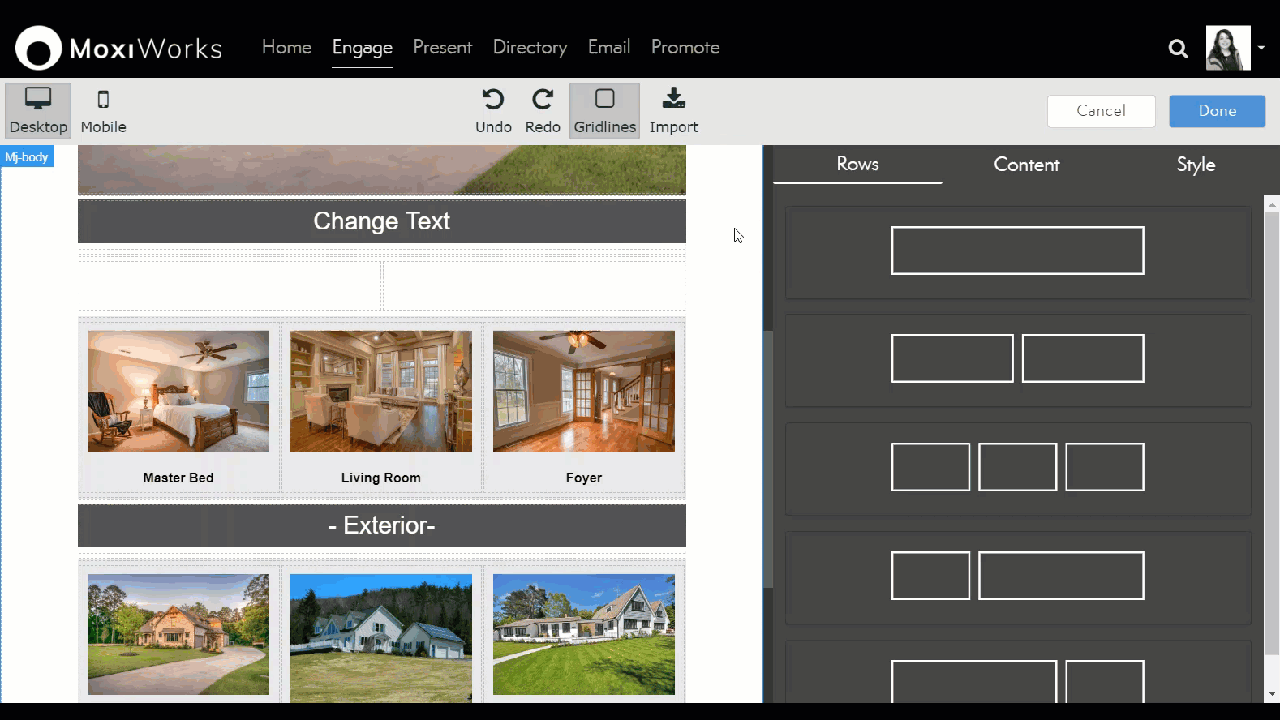
- To add additional content, you will need to choose the Rows menu to click, drag and drop your new row (see below).
- To add content to your new row, click, drag and drop any of the options from the Content Tab (see below).
- Update the content you just dragged into your row by selecting it, then use the attached editor or change any settings using the Style Tab
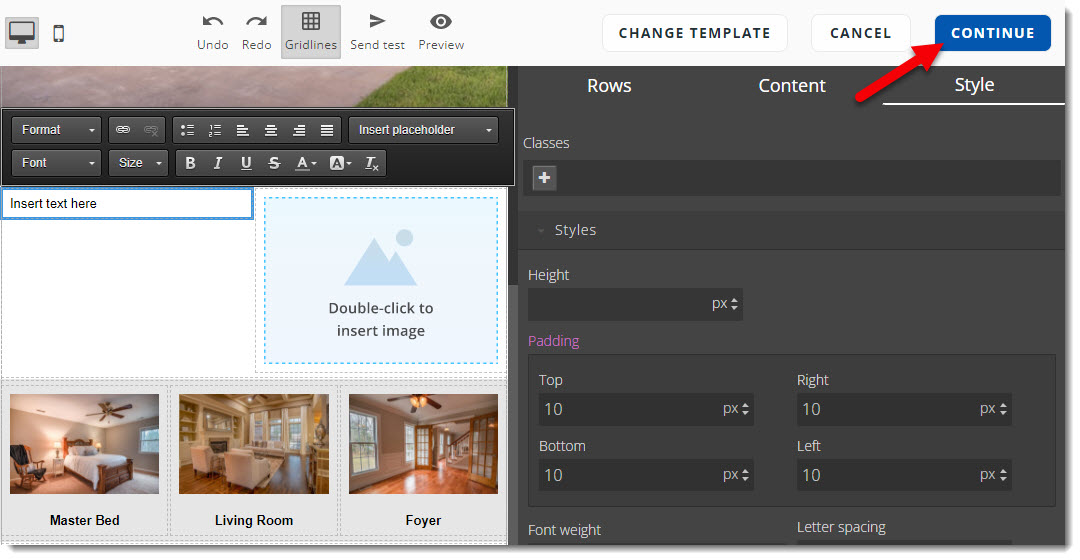
- When finished editing your email, select Continue.
- Finally,
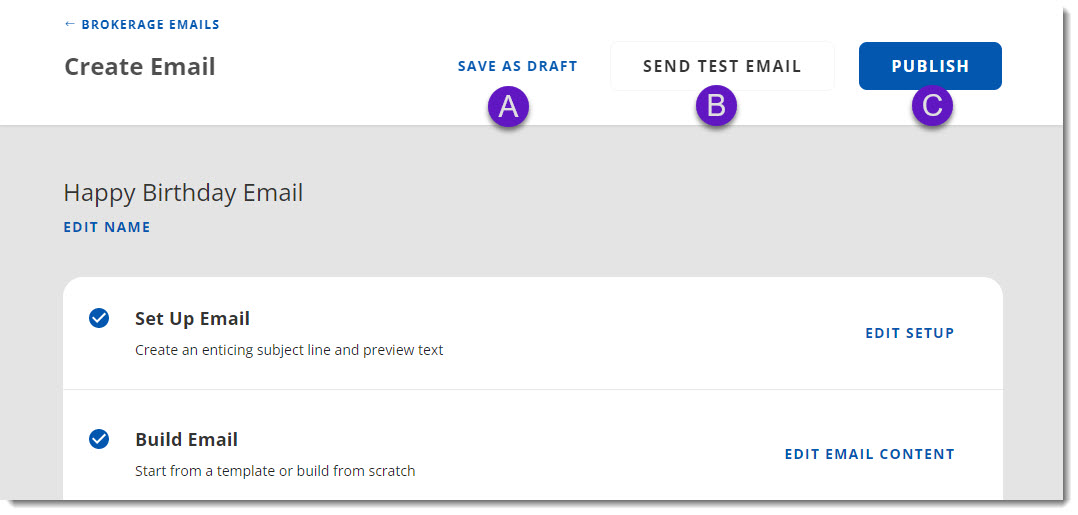
 Save your email as a draft
 Send a test email to yourself or someone else
 Publish the email, making it available for addition to a campaign and as a single email in an agent library.
![]() NOTE: Depending on the type of account you are creating content from (example: Parent, Brokerage, or Office), that information will display under the Source column in the agent Campaign/Email Library.
NOTE: Depending on the type of account you are creating content from (example: Parent, Brokerage, or Office), that information will display under the Source column in the agent Campaign/Email Library.
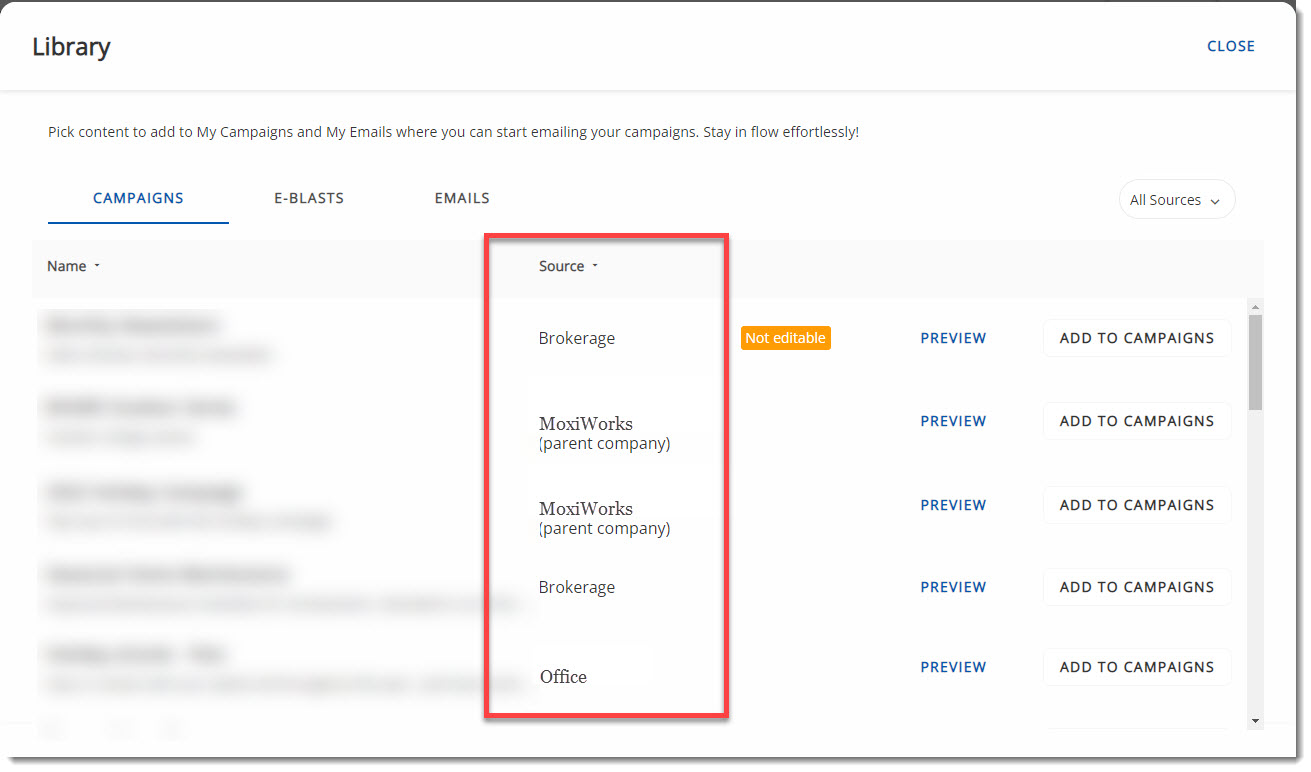
![]() NOTE: Campaigns and Emails created in the Campaign Content Admin of a Parent company account will not show in the Campaign Content Admin for a brokerage or office.
NOTE: Campaigns and Emails created in the Campaign Content Admin of a Parent company account will not show in the Campaign Content Admin for a brokerage or office.
![]() NOTE: Campaigns and Emails created in the Campaign Content Admin of a Brokerage account will be available in the content creation account of an office.
NOTE: Campaigns and Emails created in the Campaign Content Admin of a Brokerage account will be available in the content creation account of an office.
Comments
0 comments
Please sign in to leave a comment.