Do you have baseball fans that you would like to send a special note to on Opening Day? Or a selection of people you wish to send a postcard of your Just Listed or Just Sold properties? You can use groups to sort your people!
Creating a New Group in Moxi Engage
-
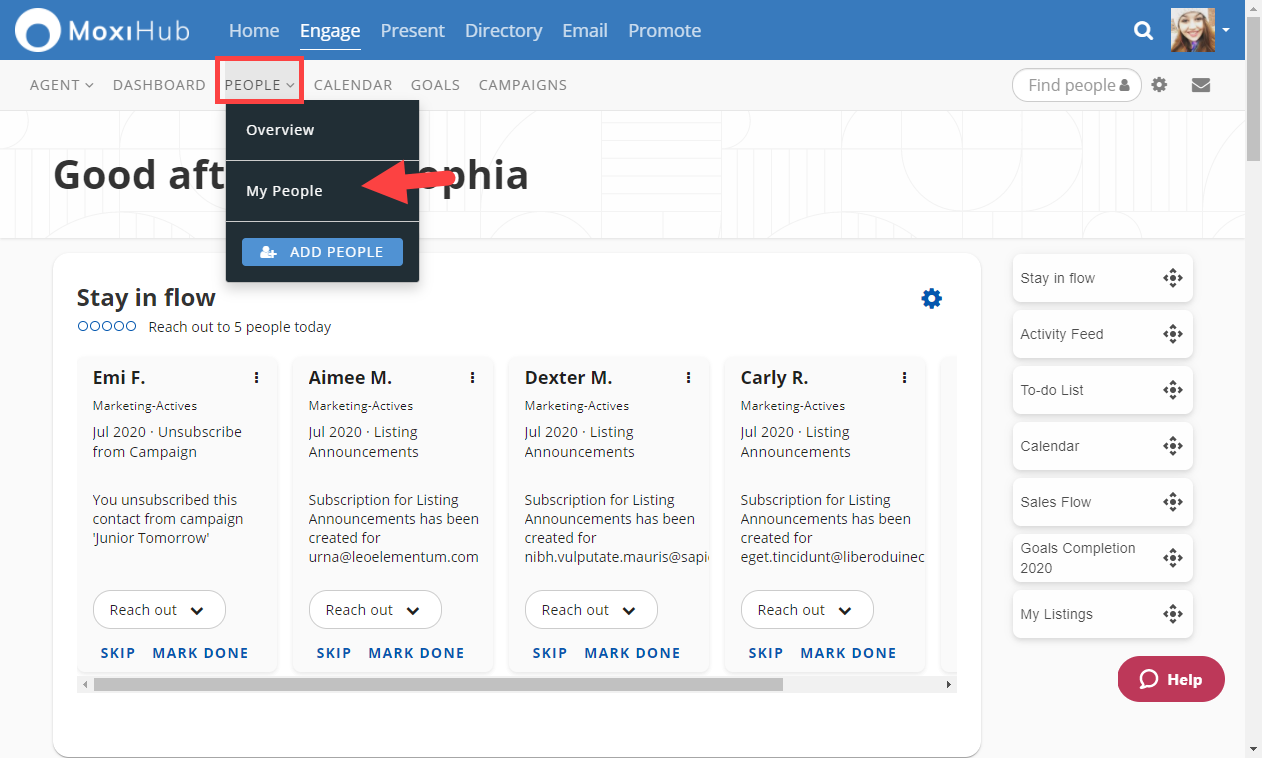
From the Engage Dashboard, select People from the top navigation menu then select My People from the drop-down (see below).
- This brings you to the My People screen and the Command Bar. Select Edit Groups

- Select the Create a new group field and enter the name of your client group
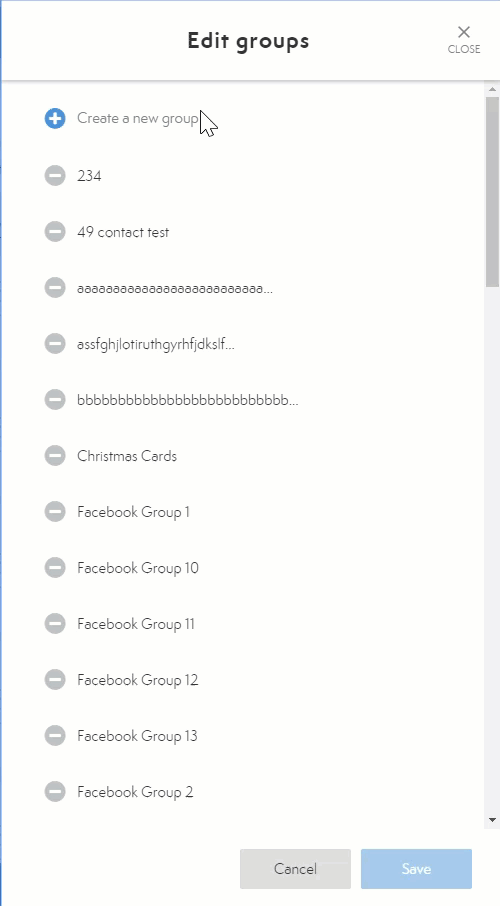
- Make sure to click the Save button at the bottom of the window when you are finished.
NOTE: Group names must be at least 3 characters in length. - To Delete a group, click on the Minus icon and choose Delete.
NOTE: Deleting a group will not delete individuals within that group.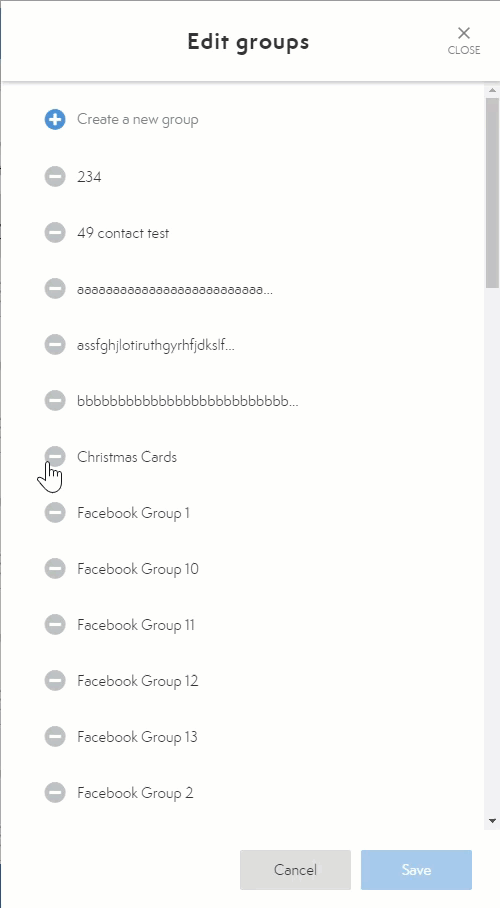
Comments
0 comments
Please sign in to leave a comment.